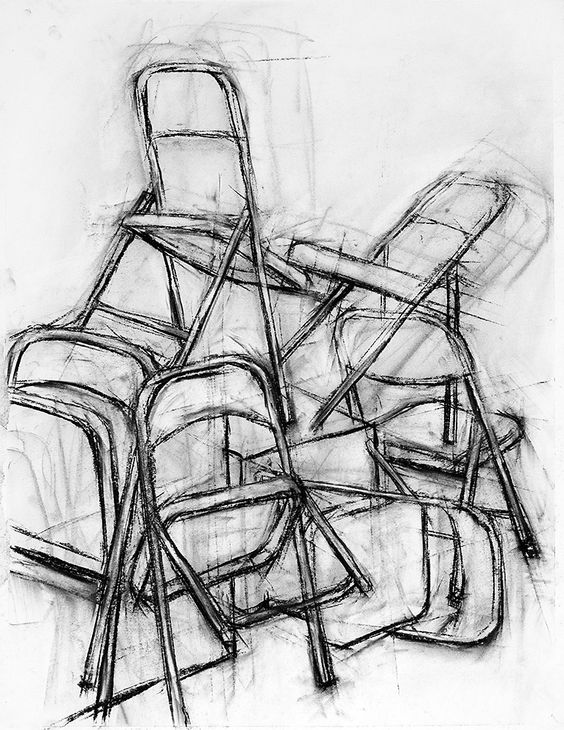
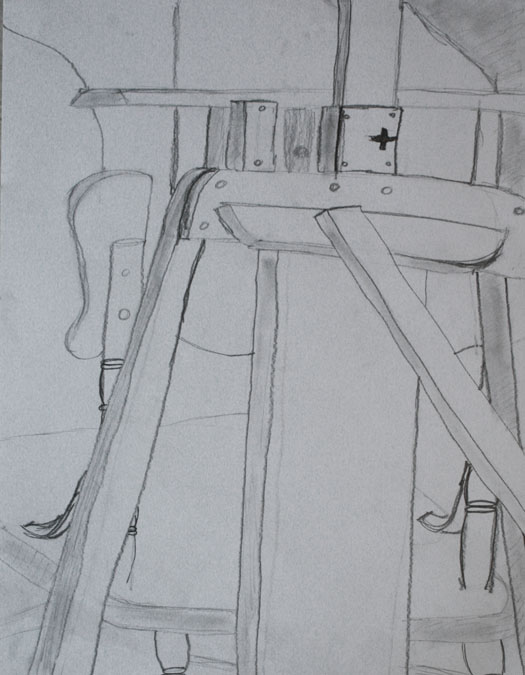
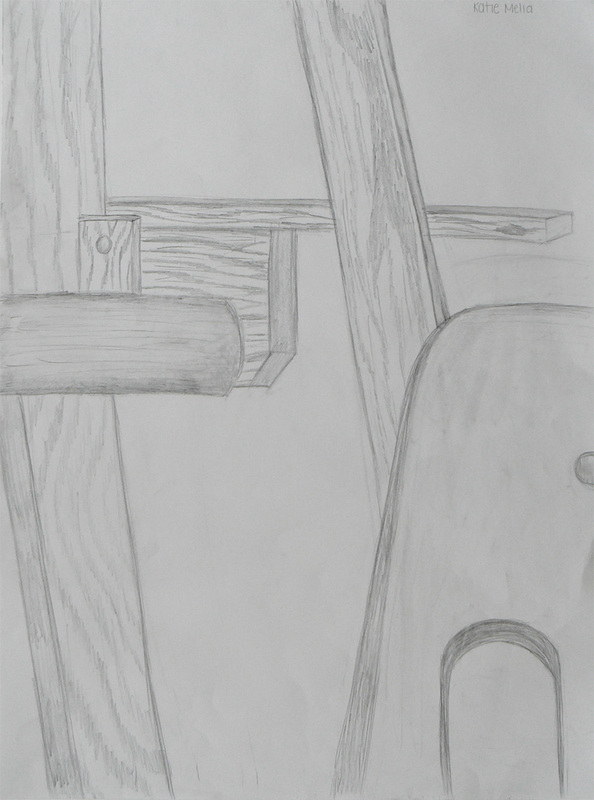
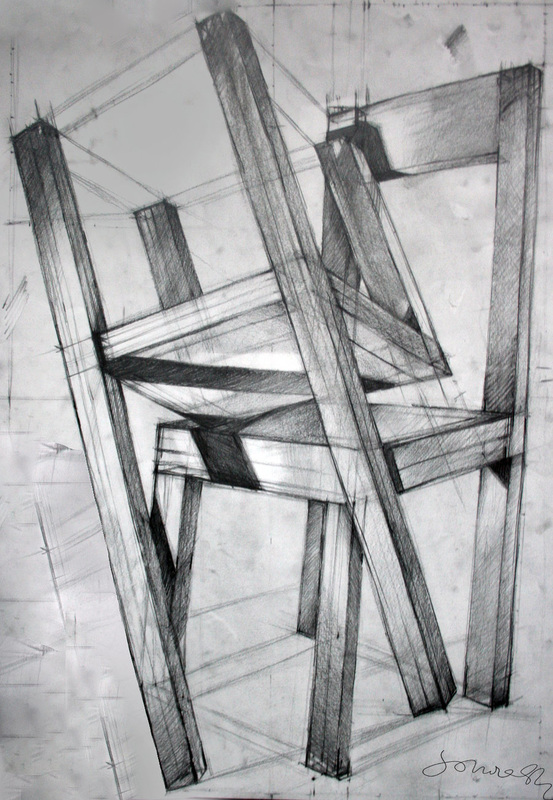
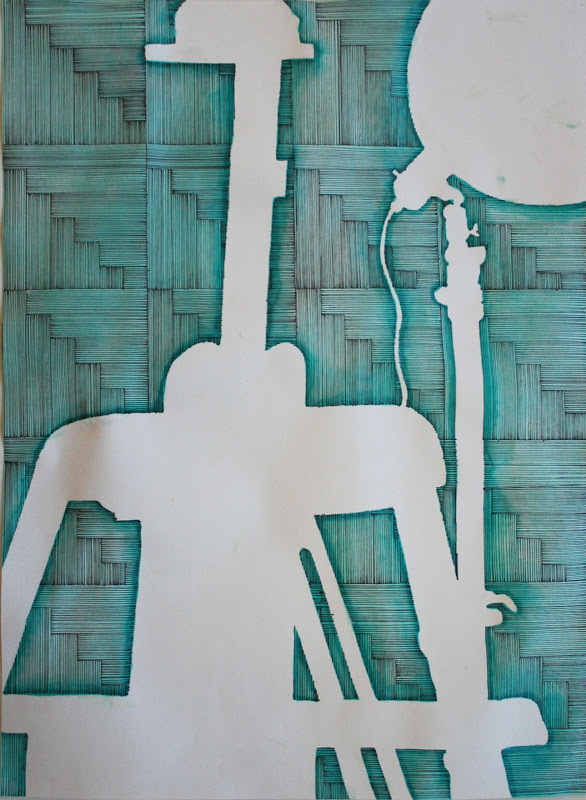
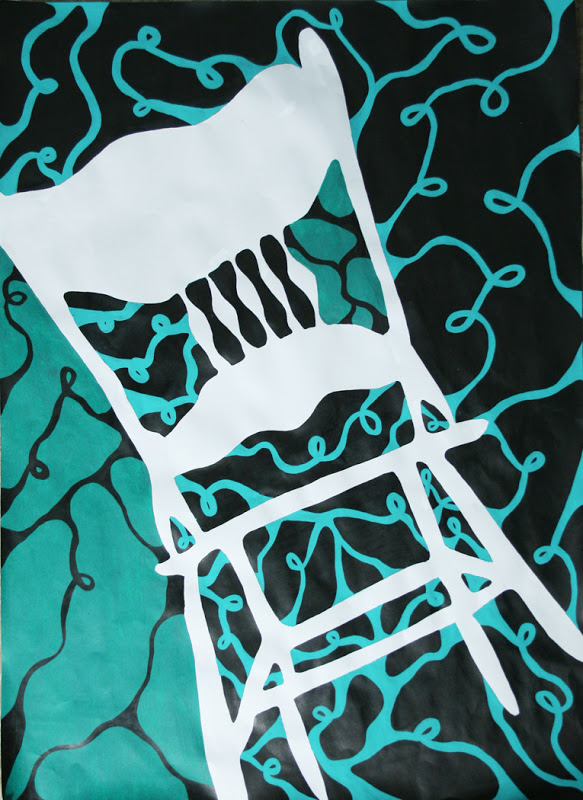
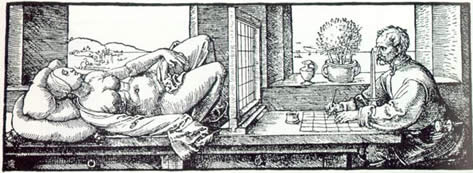
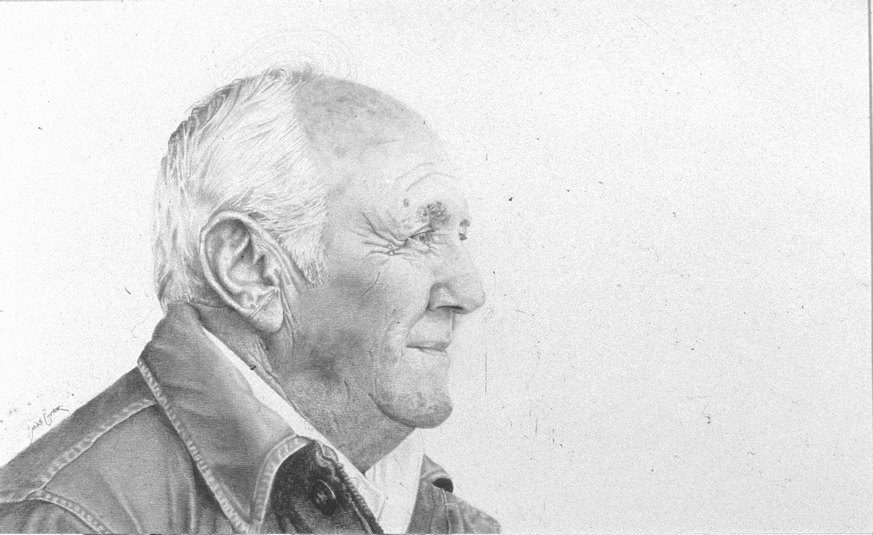
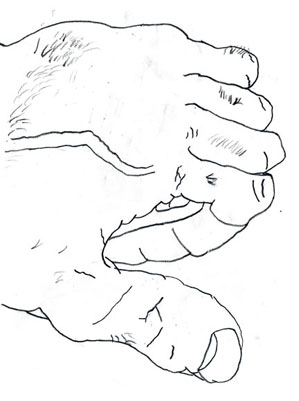
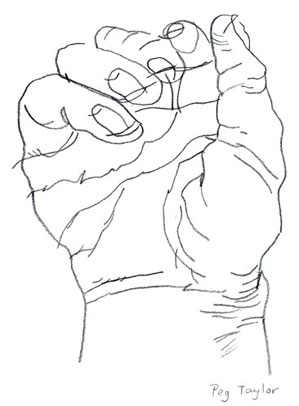
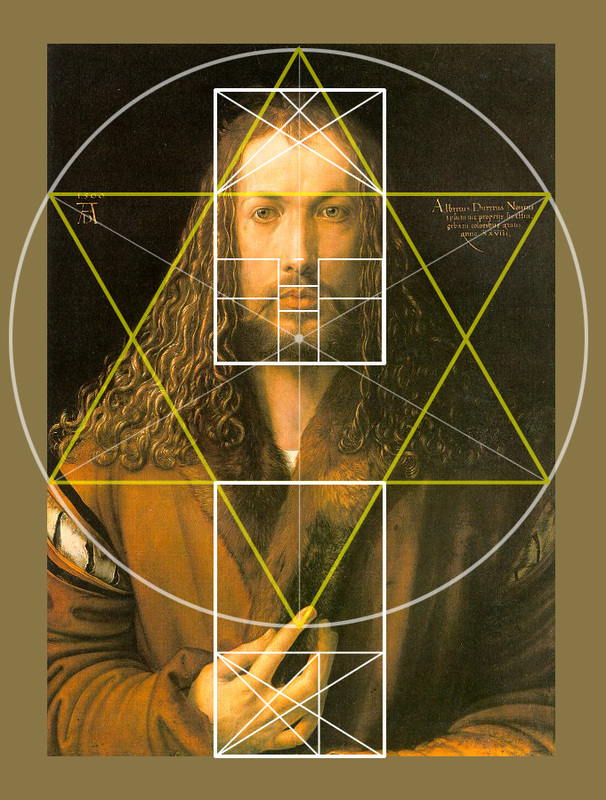
| Contour Drawing | Positive Forms Building On Previous Knowledge: In our first official studio project of the year, you will be creating two drawings that build upon our last Postive / Negative spaces exercises. This time, however, we will be working from life rather than from an already two-dimensional reference. Drawing from life is far more challenging, as it requires us to translate things from actual three dimensional space to a two-dimensional surface. In our last exercise, we explored how our brains have a tendency to get locked into the L-mode. Because all of the paintings we studied in our last exercise had a figurative element, your brains had to fight hard to see the reality of the positive forms without trying to fill in the gaps with what the L-mode was trying to identify, label, and symbolize as "features of a face". If you did the exercises as instructed, you should have noticed a shift in the final two drawings where we made thumbnail sketches of the negative spaces (R-mode thinking) first. The final results should have produced more accurate compositions in terms of how the space was arranged in both positive and negative space. The ideal outcome of the exercises would have each student more aware of how important the positive and negative space is in a two dimensional designed space. If that didn't happen for you yet, don't be discouraged, just trust the process and know that practice will give you the vision that will improve your ability to see. Positive Forms | Contour Drawing Viewfinders and Framing the Space The first part of this two-part project involves the observation and contour drawing illustration of the positive forms. I've made a still life arrangement of everyday objects you would find in the art room. These objects were strategically chosen for their dynamic contours and open-spaced structure. We will be observing an arrangement of chairs, easels, lamps, and stools for this project. Before we begin drawing from observation, we will need to discuss the overall use of the space. For this project, I want you to fill the space so that the objects extend beyond the picture plane on all 4 sides. In order to make this easier, we're going to create viewfinders to help us "frame" our compositions and visualize how large our objects need to be in space. As you can see in Albrect Durer's image above, the viewfinder and grid have been used for centuries. Our viewfinders will not be as elaborate, but it will serve the same purpose, and should help you visual your compositions with less struggle. There are multiple techniques that can be used for our viewfinders, and multiple methods will be demonstrated in class. Positive Forms | Contour Drawing Contour Line Drawing We will have a brief introduction to the proper way to sit in your chair and set up your drawing space when drawing from life. After we're all in the proper position, we will use our viewfinders as a guide to lightly sketch the structure of your drawings. If you were truly really paying attention in the previous exercises, you likely noticed the similarities in the negative shapes of the compositions by Cezanne, Matisse, Degas, and Vermeer that were strategically chosen. As you use you viewfinder to frame your composition, I'd like you to recall the arrangements by those famous artists, and try to create your own composition that contains interesting shapes in the negative spaces the way the masters so consistently did in their work. Our first drawing exercise takes place on a 12" x 18" sheet of quality drawing paper. On this paper lightly draw the "positive forms". In other words draw the chairs, easels, lamps, etc. As you draw these positive forms, I want you to still remain aware of the negative spaces that surround them. Remember, it's expected that the object in your composition extend beyond all 4 sides of the picture plane. Making sure your objects extend beyond the picture plane will allow you to create more negative space shapes. Keep your pencil lines fairly light until you've completed your composition. Once you've finished the structure of your composition, it's time to bring attention to the contour lines. Using either a charcoal pencil, or a thin sharpie marker, I'd like you to embellish the outlines of the "positive forms" in your composition. Use a variety of line weight as you do. See the examples that are listed on the left side of this page for guidance as you develop the lines in your drawing. Negative Spaces | Inventing Patterns Emphasizing Negative Spaces With Color After completing the contour lines of your positive forms, it's time to study the spaces between the forms. This portion of the project will challenge you to invent your own patterns and use six different color schemes to bring attention to the negative spaces around your forms. Step One: Inventing Original Patterns This step requires you to create 6 equally spaced and equally sized squares on a page in your journal. Once you have completed this step, you will need to use a No2 pencil to lightly draw the outlines of an original pattern into the space of each square. When you have finished, you will have 6 different original patterns. Step Two: Applying Color Schemes This step will require you to use Prismacolor pencils to apply color to the patterns you invented. Each of your boxes will have a separate color scheme that you will name. Please name your color schemes as listed below: Complimentary Analagous Triadic Split Complimentary Warm Cool Interactive Color Scheme Calculator Interactive color wheel Step Three: Trace Your Original Drawing Place your second sheet of paper over top of your original drawing of the positive forms. Using light pressure and a No 2 pencil, carefully trace only the shapes that define the the spaces between the positive forms of your drawing. This is harder than it sounds, but I know you can do it. Step Four: Fill The Negative Spaces With Pattern Choose your favorite pattern from the six experimental patterns you invented in step one. Do this carefully, using only your absolute best craftsmanship. You do not have to choose the color scheme yet, only the pattern by which you were most impressed. Step Five: Fill The Pattern With Color In this step, you will need to choose your favorite color scheme from the six color schemes you created in your sketchbook. Then, using Prismacolor pencils, apply that color scheme to the pattern with which you have filled the negative spaces. That's it! You now have a very carefully crafted "Positive Forms Contour Line Drawing" and "Negative Spaces Pattern Drawing". |
|
0 Comments
|
ART 1
|

 RSS Feed
