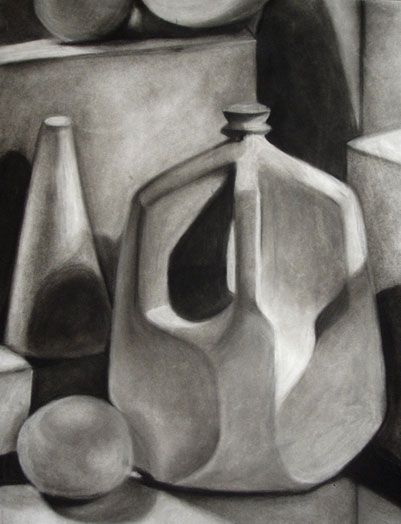
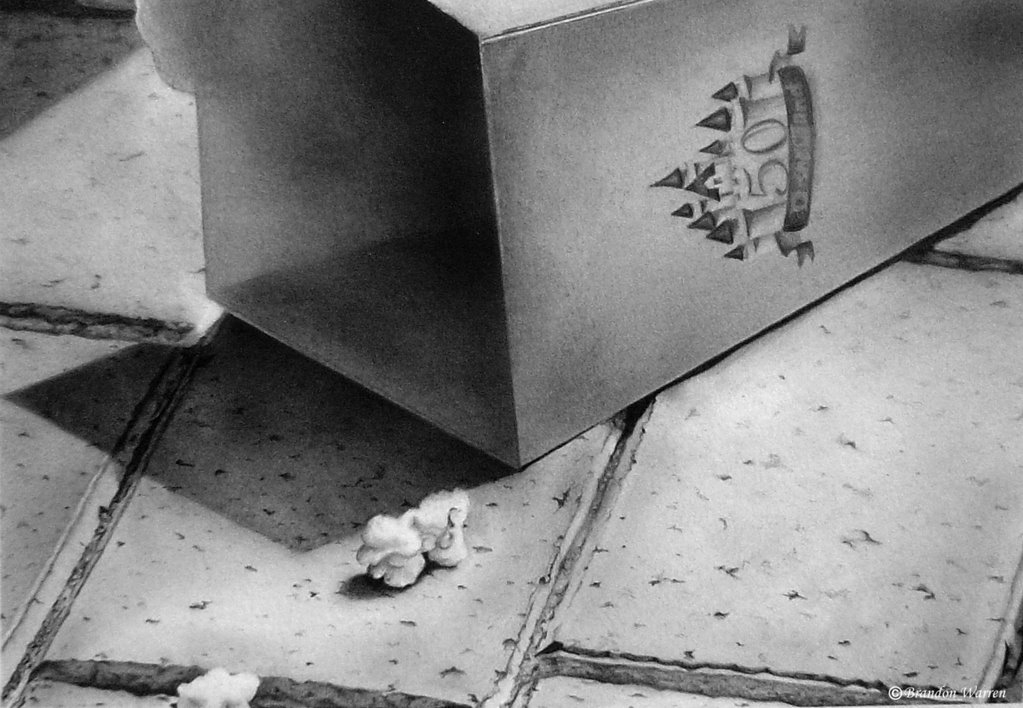
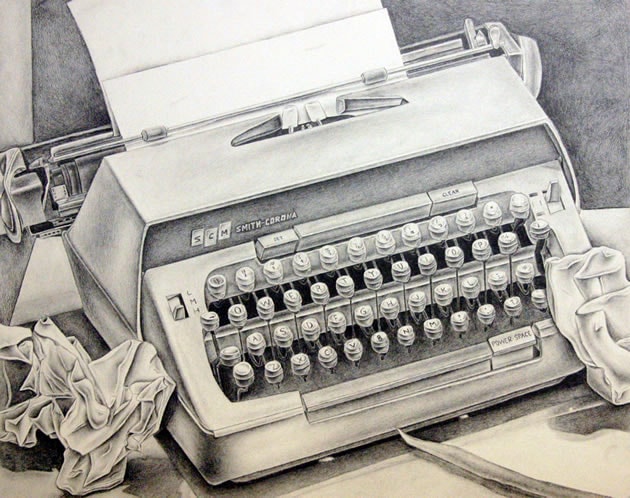
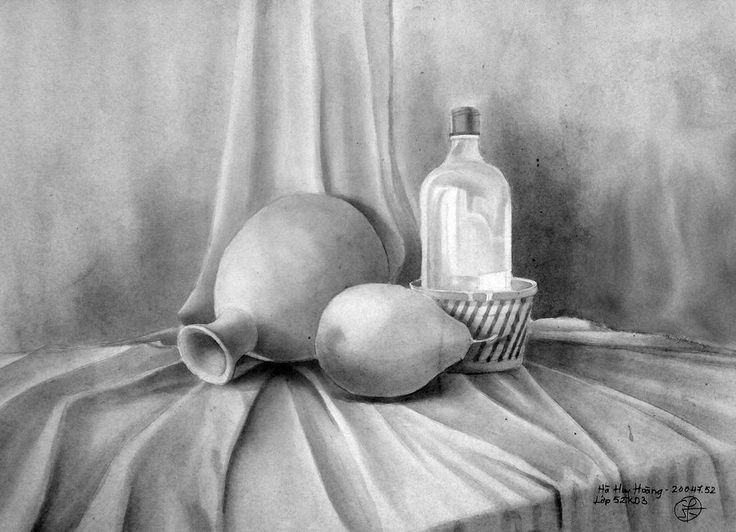
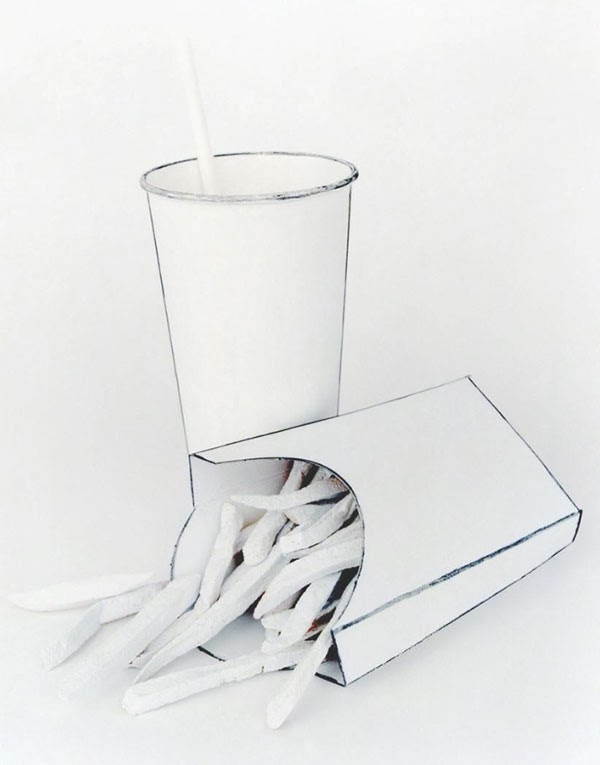
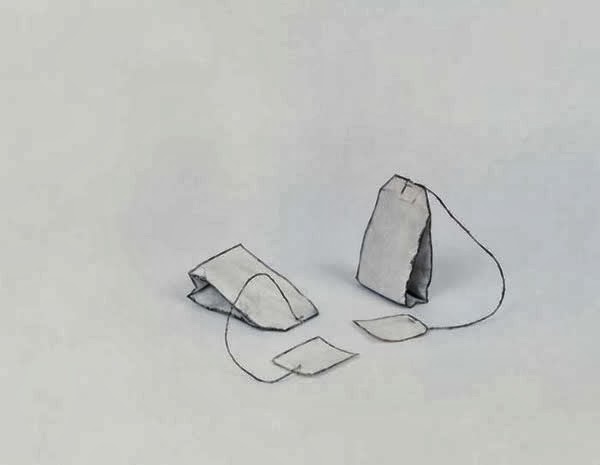
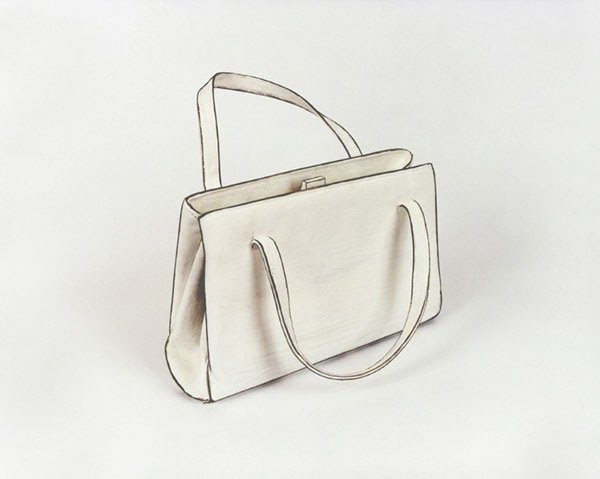
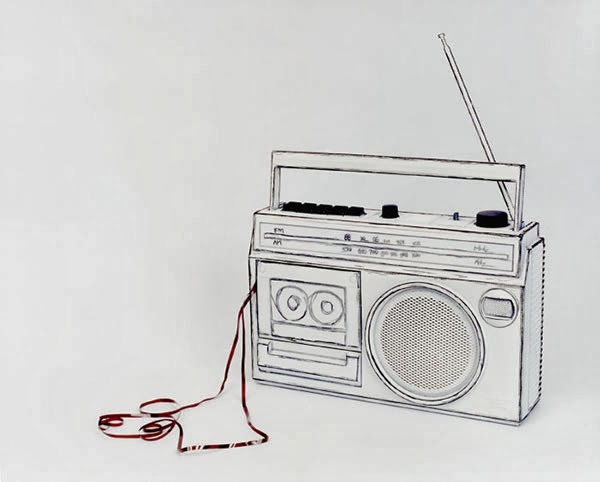
| The Illusion of Form: Drawings without Line Most people in our culture have not been trained to see well enough to draw realistically, and think drawing convincingly requires some God-given skill that cannot be learned. You either have the ability or not, right? Wrong! While it is true that some students have had more practice than others, or some have grown up in a culture of art, the ability to draw really comes down to the willingness to see. Leonardo is once wrote: "To draw is to learn to see". He was absolutely right, as it takes deep concentrated observation to learn how to see well enough to render forms convincingly. No differently than the dedicated work required for solving complex calculus problems or learning the subtle tone and nuance of a second language, learning to draw happens for those who have the desire to do difficult work. Regardless of prior training or God-given "talent", any dedicated student can learn to create the illusion of form through the use of subtle light and shadow. In our last project, we drew very open spaced objects and emphasized line to describe those objects. This next assignment will challenge you to create drawings of objects that contain no visible line. Instead, these drawings should only demonstrate a subtle range of values. Before we can begin the first stage of this assignment you should know that we will be using the same objects to create the illusion of flattened space using photography. The final product for those students who truly focus and are dedicated will be surprised at how illusionistic he or she can be. In sense, you will be learning skills that will make many people outside the art room think you have a magical gift. Step One: Choose An Interesting Object Each student is required to bring in an object that can be painted completely white. By painting the object completely white, we will be simplifying it, making the task of seeing light and shadow much easier. Not only will it help in creating a convincing illusion of form, but it will also simplify the objects enough to be able to really fool the eye with the photographic second stage of the assignment. Choose your object wisely. Too simple an object, and you'll be bored, to complex and you will risk frustration in both stages of the assignment. Using all of the object brought in, we will make a class still life of these white objects and will place them in an "in the round" arrangement with white cloth in the center of the room. Step Two: The Ghost-like Structural Drawing This is the most difficult portion of the assignment, as it requires constant evaluation of proper proportions. The word proportion in art refers to the relative parts to the overall form within a drawing, painting, or sculpture. If the proportions are off, the illusion will be weakened. Without accurate proportion, the object will become distorted which will not allow the illusion to be convincing. Spend careful attention during this stage of the drawing. One important trick during this structural stage is to keep your lines exceptionally light, so the structural evidence can be disguised when value is added later. The biggest problem students face is having a light enough touch. I often tell my students that any pressure stronger than the weight of the pencil itself is too much in the beginning stages of a drawing. These drawings will be created on the same sized paper as we did in the last assignment. Step Three: Adding Value To Create The Form Once your proportions are correct in your structural drawing, you will begin to add the value gradually. We want to build this drawing slowly and carefully, using vine charcoal at first. Vine charcoal exceptionally malleable, meaning that it can be pushed around easily with a tissue or your finger, and can also be erased very easily with a good kneadable eraser. You should think of building this drawing in subtle layers that begin with the lightest value, and graduating to the darker values in the later stages of the drawing. Using the gradual build up of value will give you more control, and will allow you to add and subtract your values with ease. You should also know that your eraser is one of the best drawing tools you could have, not only in the sense that it can disguise your errors, but also in the way it can be used to remove values to produce highlights that create convincing forms. Step Four: Adding Line To Create Illusion of Flatness Once you have convincingly created the illusion of form, it's time to really make some magic. In this step you will be drawing line around the edges of your object, and will be photographing it on a pure white background. With the proper lighting, we can create the illusion that the object has been drawn rather than photographed. This step may take a little bit of editing in photoshop, but as you can see to the left, the results are a lot of fun. |
|
1 Comment
|
ART 1
|

 RSS Feed
