
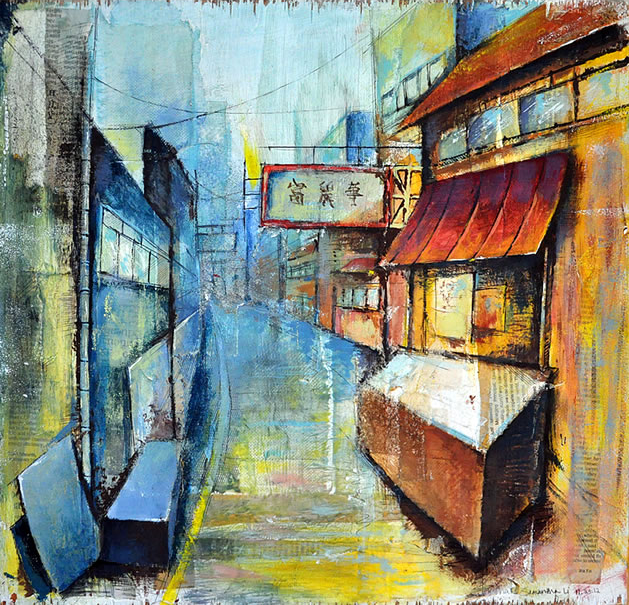
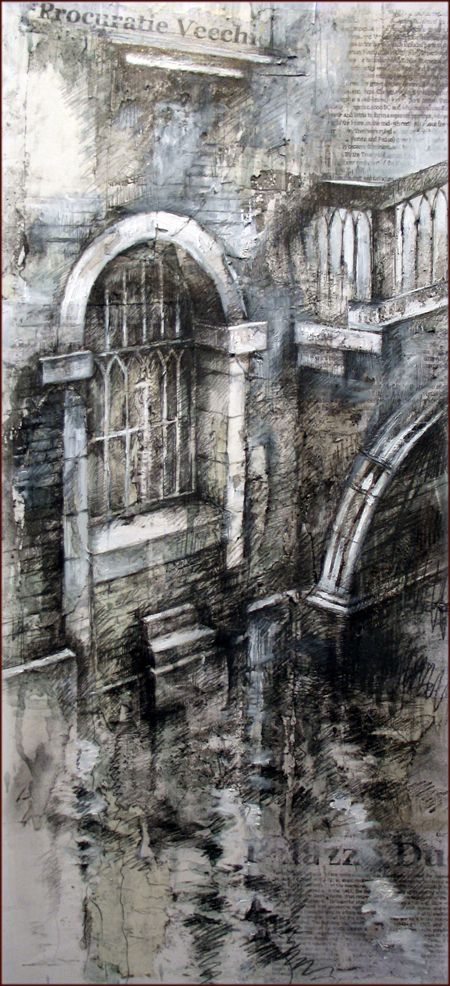
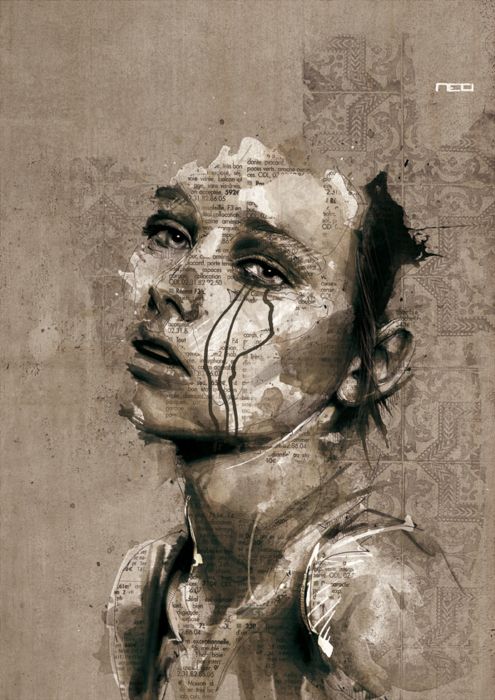
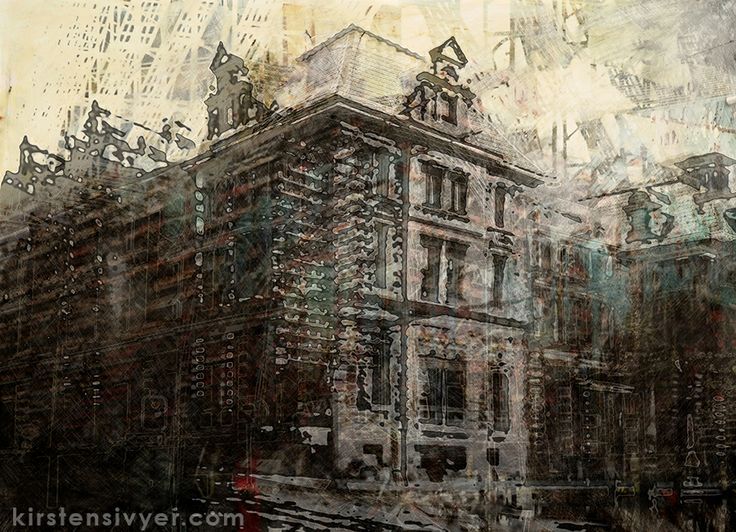
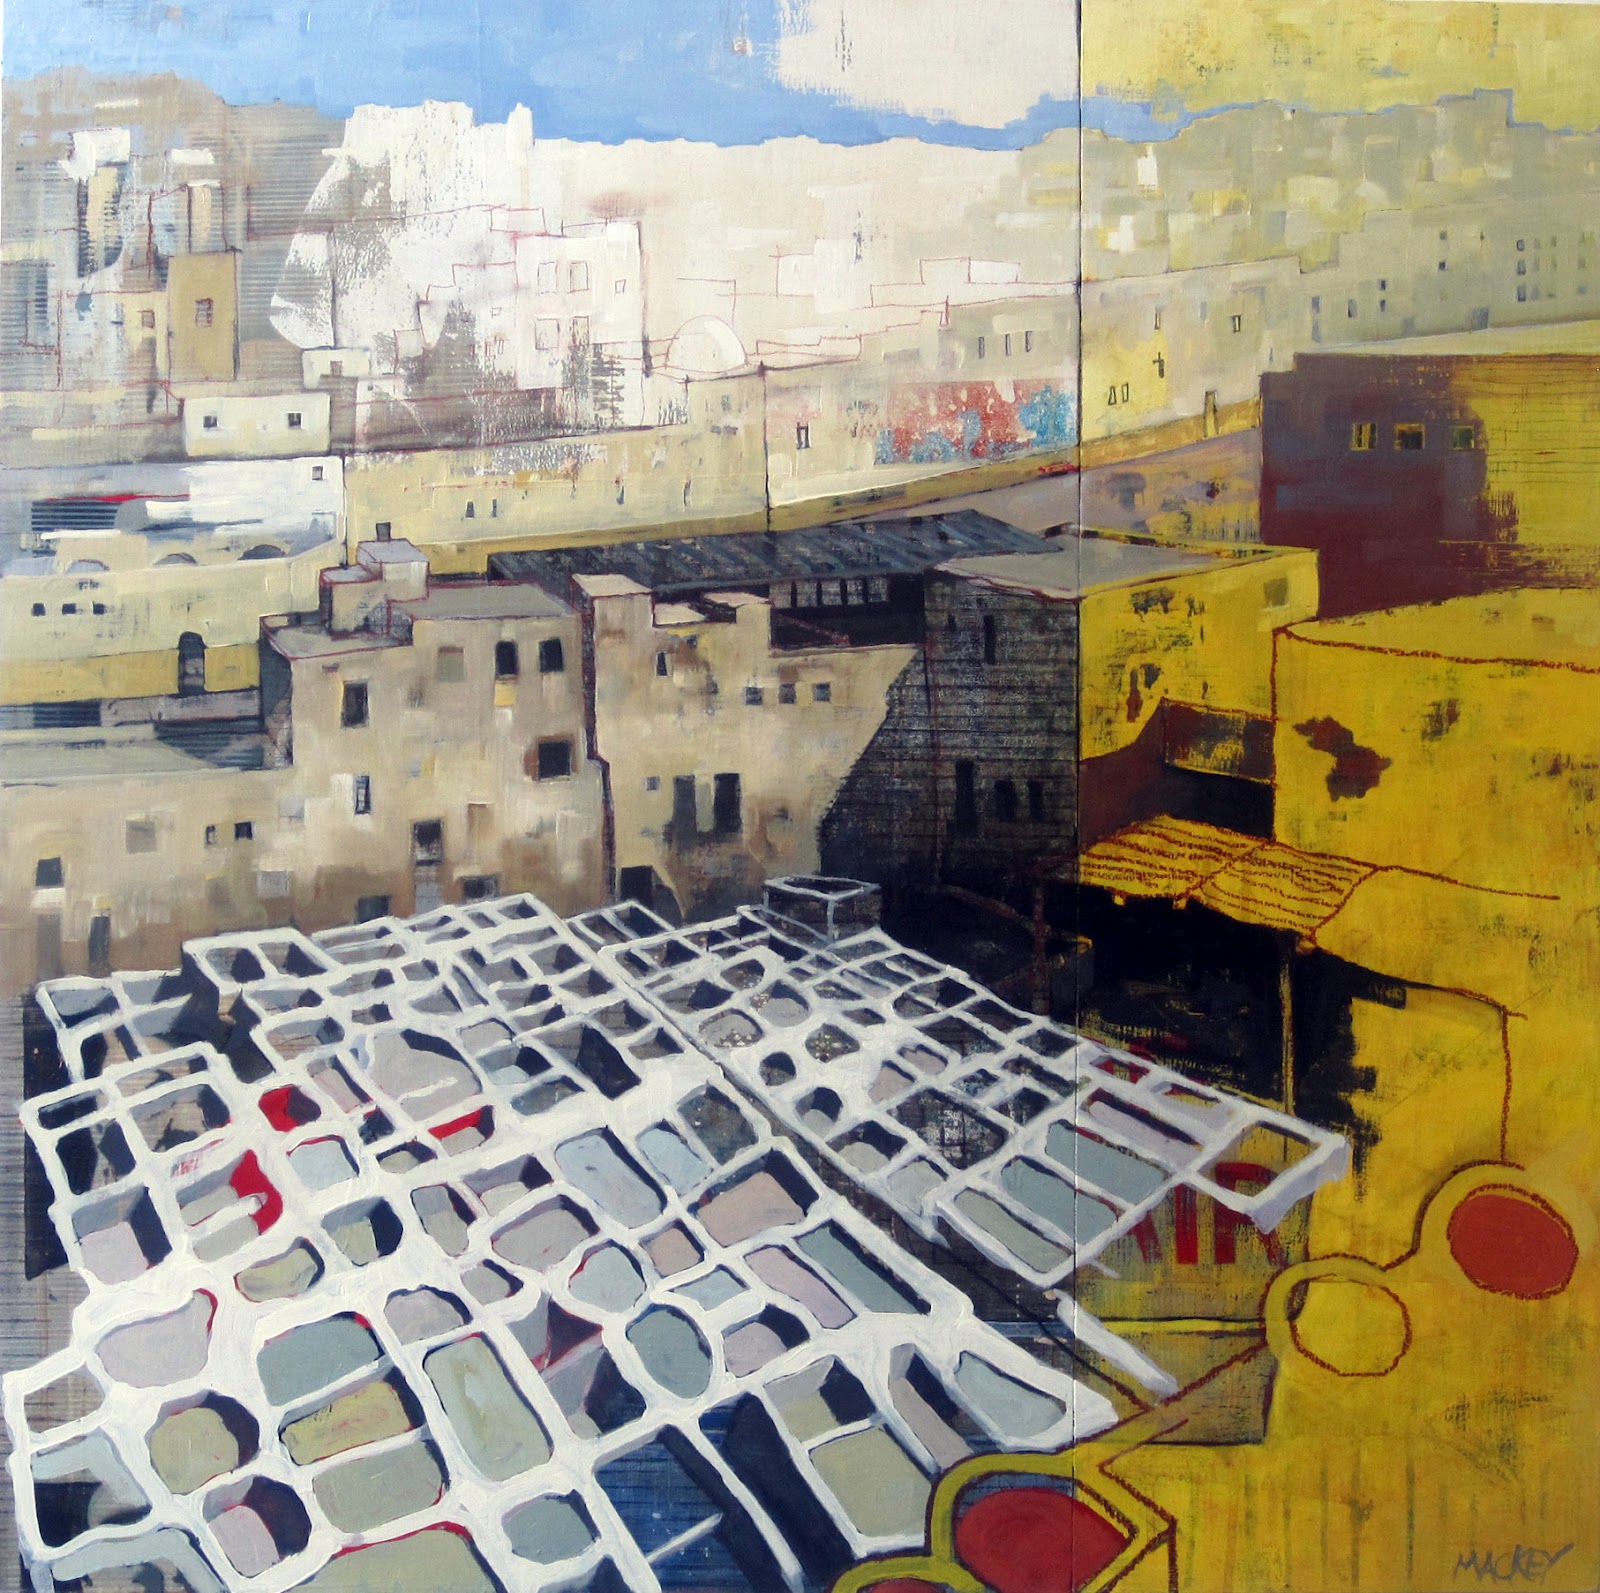
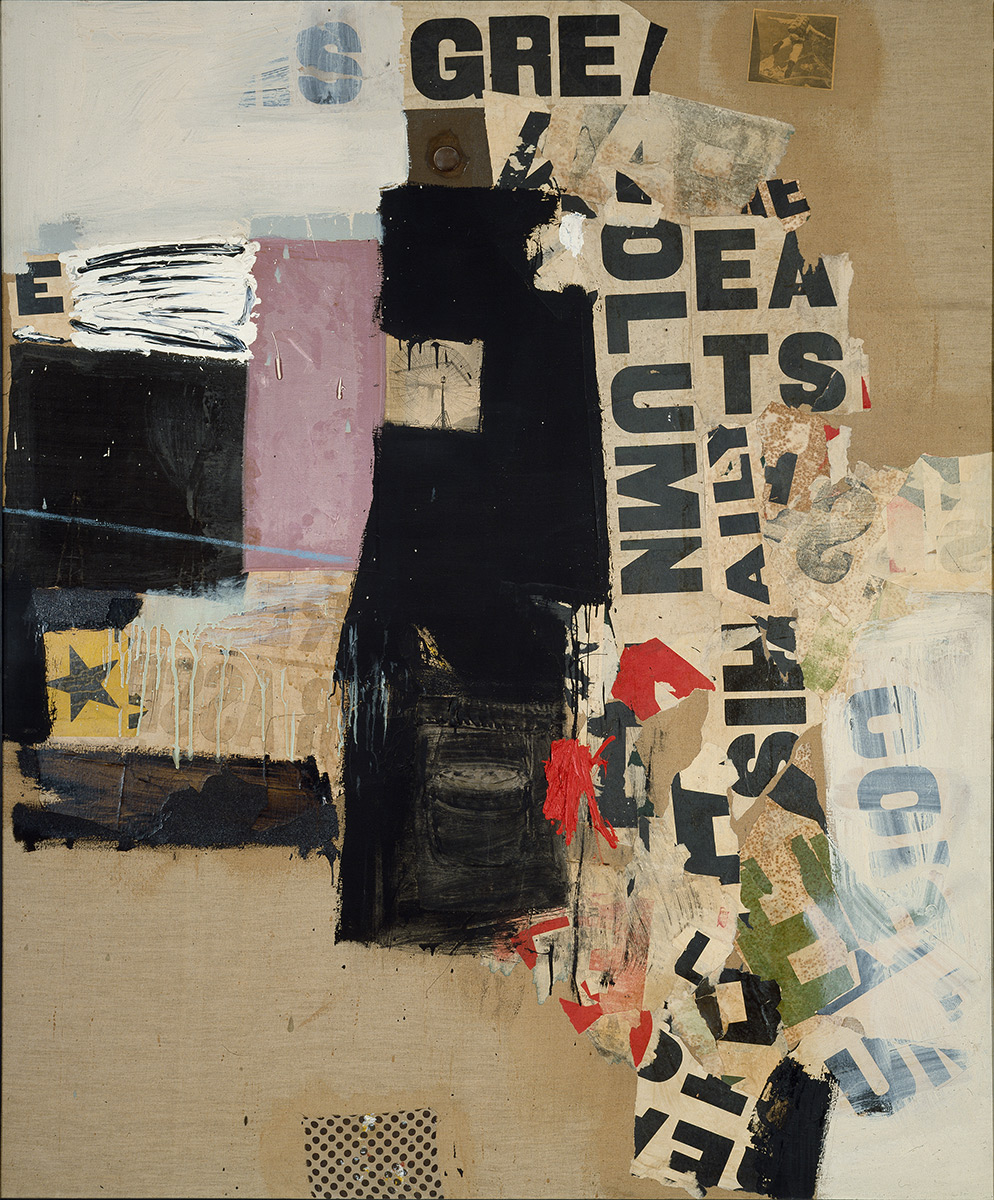
         | What is Mixed Media?The term "mixed media" refers to artworks that are created through the use of more than one type of artistic medium. Often, the artists use some form of collage in combination with drawing and painting media. In our case, we will be working with collage, acrylic, graphite, ink, and colored pencil. Materials for this project: 11"x14" Masonite Board Magazines, Newspaper, Old Books, etc. White Acrylic Primer or Gesso Acrylic Paint Graphite Pencil Pen (ball point or sharpie) Prismacolor Pencils Photo Reference of a building in perspective Timeline for this project: Day One: Lecture / Practice Day Two: Collect Imagery for Approval / Collage Day Three: Begin Drawing Day Four: Mixed Media Drawing Day Five: Final Day to work Day Six: Critique What Will You Create?The students will begin with creating a collaged background on a 11"x14" sheet of Masonite board. The students should seek a variety of typographic elements, and should tear the collage media rather than using mechanical tools such as Exacto knives or scissors. Absorbent papers, such as newspaper, will work better than glossy textured magazine pages. Once the surface has been covered with the collage media, the students will "quiet" the typography with a light wash of white acrylic primer. This should be done in a very expressive way, and should leave some evidence of the typography below the surface of the primer. When the primer has dried, the students will stain the surface with watered down acrylic paint. Drips, splatters, and irregularities are welcomed in this stage of the mixed media drawing. Next, the students will use a pencil and a ruler to illustrate, using the rules of linear perspective, the building that was chosen as a reference. The structural marks of these perspective drawings should be made lightly, and should be mostly disguised when the image is finished. Once the students have completed the basic structure of the building, and have proven an understanding of linear perspective, they will begin to loosely render the drawings with layers of diluted acrylic paint. The students will use their photo reference to guide their color choices, and students are encouraged to paint with "selective detail". The amount of detail used in the painting is up to the students, and the treatment of the paint should be aimed at expression more than mechanical precision. At this point, the students should feel free to add small details with pencil and pen, but should continue to keep things fairly loose and expressive. Once the line work has been completed, the students can decide what other elements their work may need. Some students will add more collage elements, some will embellish the drawings with colored pencil, others may add layers of acrylic paint. The quality of the finished product should seem heavily layered and expressive. What is Linear Perspective?Helpful Links: One Point Perspective Tutorial Two Point Perspective Tutorial Examples of One and Two Point Perspective: Boxes In One Point Perspective Street Scene in One Point Perspective Box Letters in One Point Perspective Boxes in Two Point Perspective Linear perspective, a system of creating an illusion of depth on a flat surface. All parallel lines (orthogonals) in a painting or drawing using this system converge in a single vanishing point on the composition’s horizon line. Linear perspective is thought to have been devised about 1415 by Italian Renaissance architect Filippo Brunelleschi and later documented by architect and writer Leon Battista Alberti in 1435 (Della Pittura). Linear perspective was likely evident to artists and architects in the ancient Greek and Roman periods, but no records exist from that time, and the practice was thus lost until the 15th century. The three components essential to the linear perspective system are orthogonals (parallel lines), the horizon line, and a vanishing point. So as to appear farther from the viewer, objects in the compositions are rendered increasingly smaller as they near the vanishing point. Early examples of Brunelleschi’s system can be seen in Donatello’s relief St. George Killing the Dragon (c. 1416–17) and Masaccio’s painting The Holy Trinity (1425–27), a dramatic illusionistic crucifixion. Andrea Mantegna(who also mastered the technique of foreshortening), Leonardo da Vinci, and German artist Albrecht Dürer are considered some of the early masters of linear perspective. As the limitations of linear perspective became apparent, artists invented additional devices (e.g., foreshortening and anamorphosis) to achieve the most-convincing illusion of space and distance. |
|
1 Comment
|
ART 2
|
 RSS Feed
