| For this project we will be utilizing a printmaking process called mono printing or monotyping. We will also learn about other types of printmaking and familiarize ourselves with important terms. We will review steps and vocabulary in class, but if for any reason you want to see them again they are here for your convenience. Additionally there are links to help you understand the art movement we are studying while creating mono prints, Abstract Expressionism. Links: Walton Ford Video Printmaking Terms MoMA Interactive Tutorial Abstract Expressionism Information PowerPoint of printmaking terms from class
PowerPoint about Abstract Expressionism from class
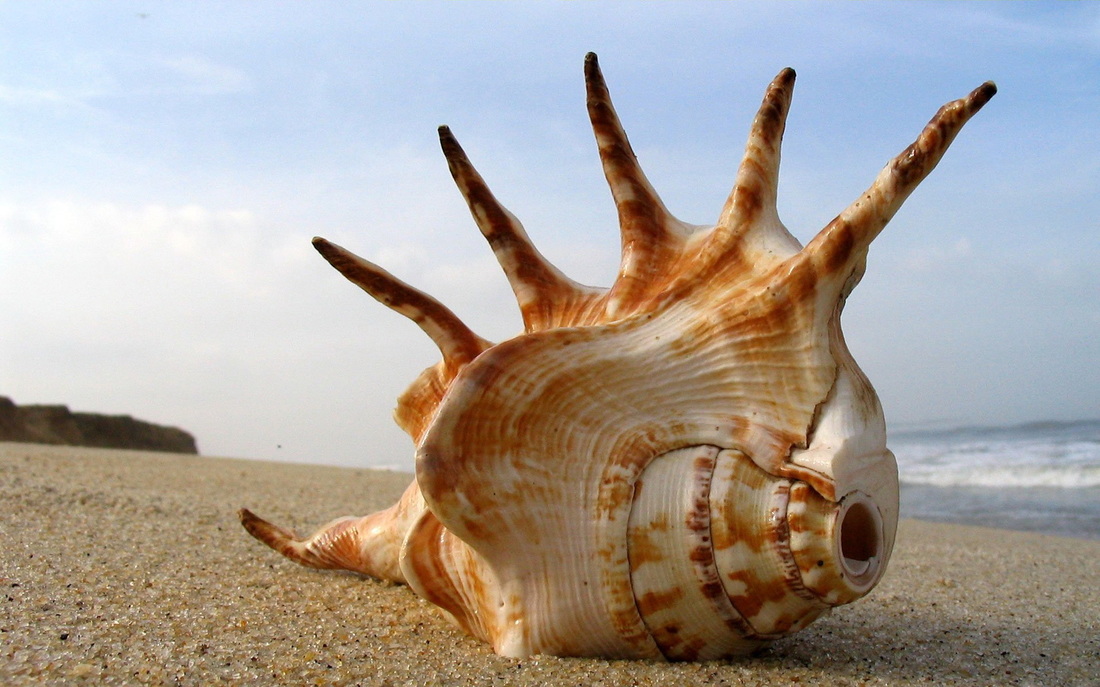
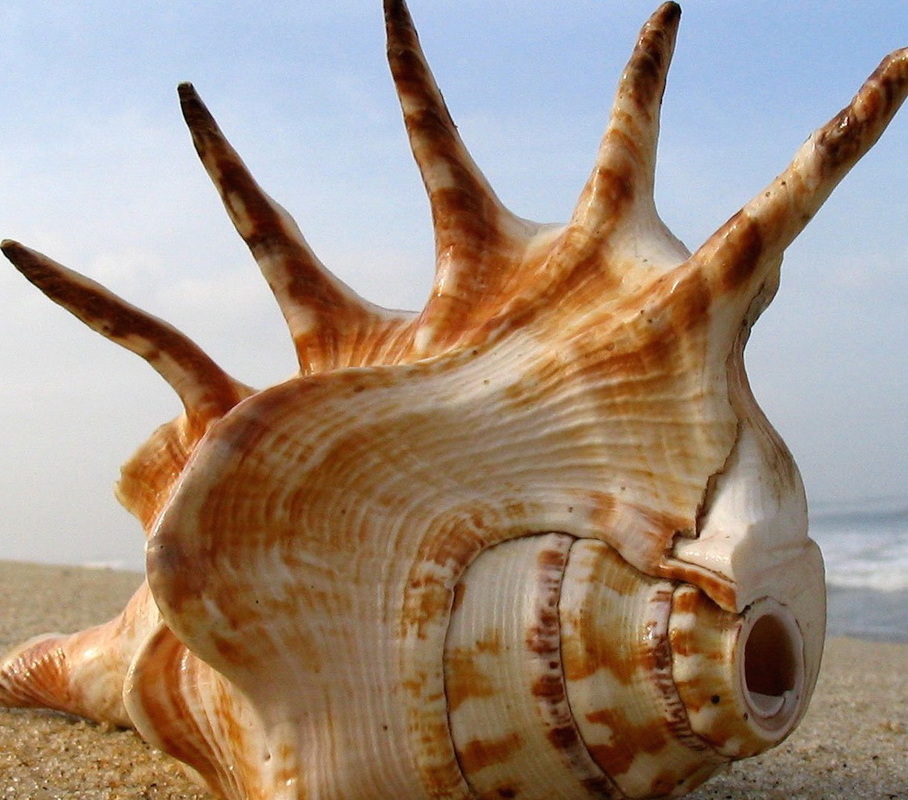
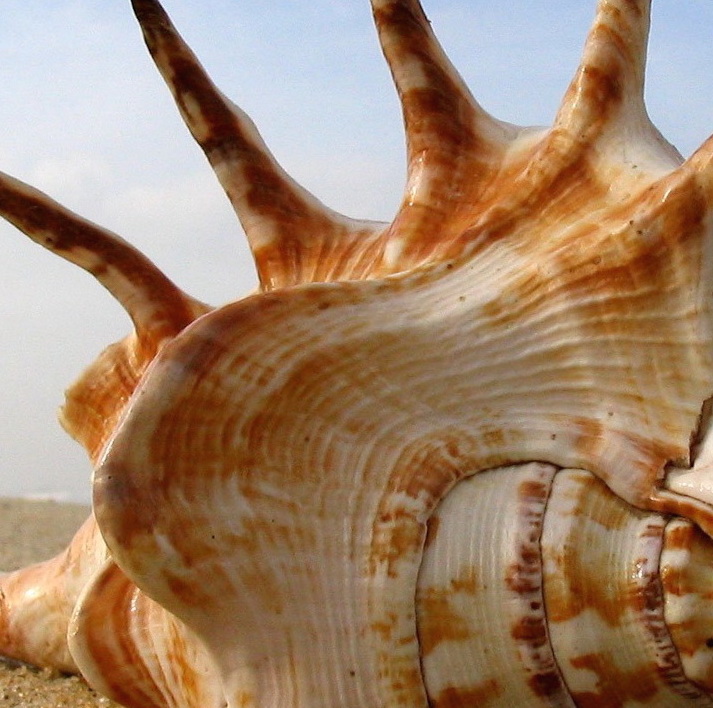
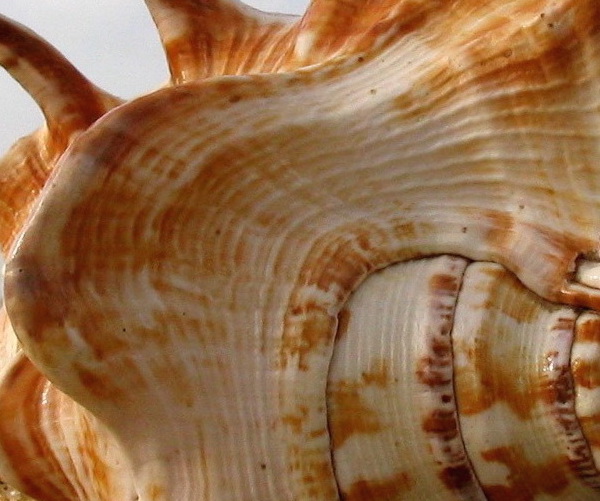
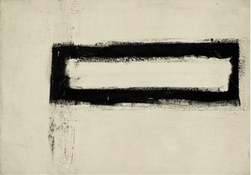
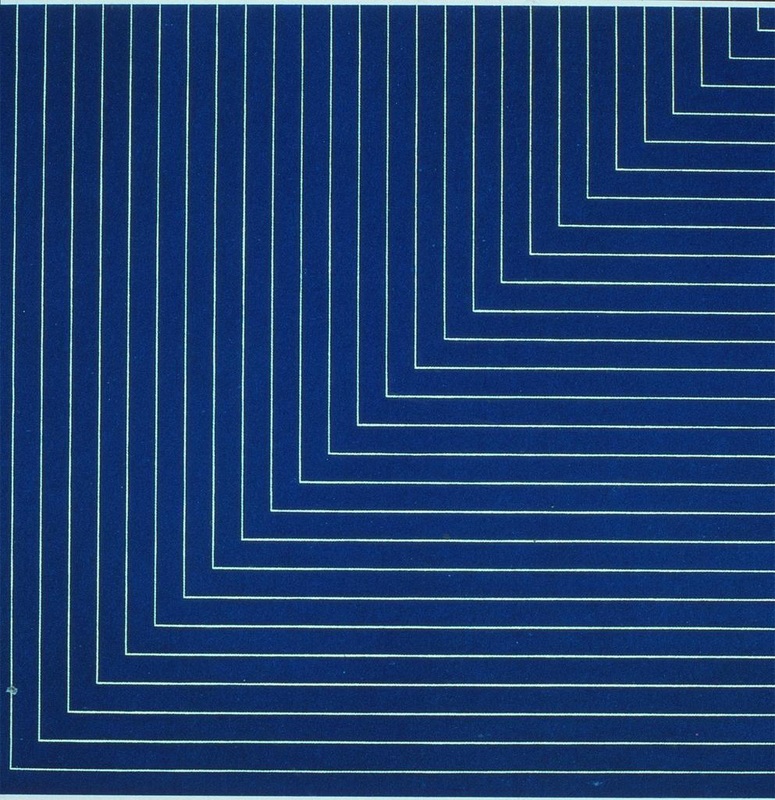
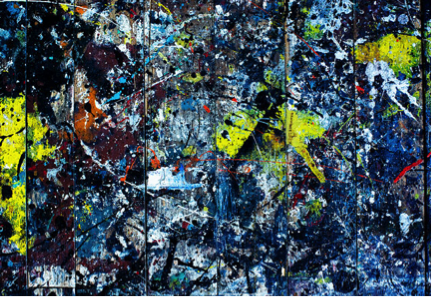
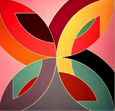
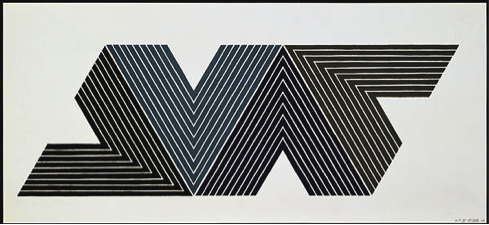
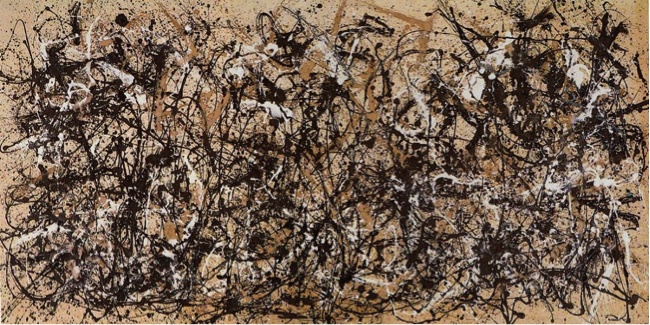
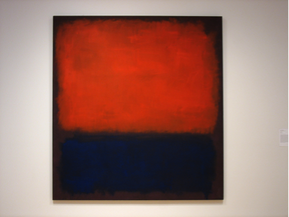
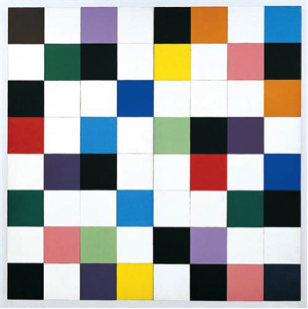
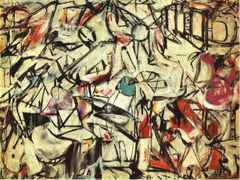
Project Description: Printmaking is an important artistic practice that has many subtypes and a rich historical background. This project will serve as an introduction to printmaking that can be explored further in the future. As a starting point for this project we will explore Abstract Expressionism, a post–World War II art movement in American painting that developed in New York in the 1940s. The movement was characterized by art that does not depict objective reality, but rather a subjective expression of inner experience. We will look to artist such as Jackson Pollock, Barnett Newman, Cy Twombly, Willem de Kooning, Ellsworth Kelly, Franz Kline, Lee Krasner, and Mark Rothko. After discussing Abstract Expressionism and these artists, we will create abstract mono-prints. We will review the steps to this process as a class and spend some time practicing, but also steps can be found here. The intention of this project is to expose you to a new technique, provide you with more knowledge of art history, and help you understand abstraction. Project Criteria: Our first steps will involve taking an image or object and zooming in on it, as seen on the left. We will remove ourselves three times from the original image by creating three zoomed in sketches based on the original. This will allow us to have a starting point for our abstract compositions and can be changed and transformed as the artist finds fit later. After this process is completed, the artist will start to paint their image onto their 8 x 8 piece of Plexiglas. This is an expensive material and must be re-used for the course of this project, take care of them. To keep track of your Plexiglas, write your name on a piece of tape and place it on the back to keep track of because everyone will receive only one. We will review the steps to mono printing and the different techniques possible that you may try and combine. After we have made our prints, we will participate in an artist trade based on our less successful prints. This will involve switching with another member of the class and transforming it in any way. This will help us to experience collaboration and see how other people approached this new process of printmaking. Students will be responsible for turning in two high quality prints that demonstrate fine craftsmanship for a grade. In addition to these two prints, each student will turn in one of their lesser prints for the artist trade. Student grades will also be based on a written test about Abstract Expressionism and printmaking. | |||||||
Creating Abstract Compositions Creating an abstract composition can be tricky. It is not as easy to look in your own head and find inspiration for abstract images as it is to find realistic images. Look and think back to our discussion about Abstract Expressionism for more inspiration and to build your visual vocabulary. If you do not have an artist chosen for your upcoming artist study, consider choosing someone we talked about in class like Jackson Pollock, Barnett Newman, Cy Twombly, Willem de Kooning, Ellsworth Kelly, Franz Kline, Lee Krasner, or Mark Rothko. As you begin your journey choosing images to “zoom in” on to develop compositions, think about all you know about the principles of design and elements of art. Here is a list to guide you. Choose one from each category for your two prints that you will turn in for a grade (and mark them!) at the end of the assignment, but try as many as you can! LIST ONE! Create an abstract composition utilizing the zoom in technique to create a print that… · Shows emphasis. Make part of your design stand out by contrasting it with other areas of the design. This emphasized area could be a different size, shape, texture, color, etc. · Shows static or dynamic movement. Either express static movement in a design by making the image very stable and still, or create dynamic movement by creating a design that is very active and full of energy. · Shows unity. Create a design that displays a feeling of harmony with all other parts of the design. This will create a feeling of completeness. · Shows expressive texture. Create a design that has an interesting surface quality that the viewer can read. Make us want to reach out and touch your finished prints. · Shows symmetrical, asymmetrical, or radial balance. Distribute the visual weight of the pieces of the design symmetrically by balancing what is on one side with the other. Distribute the visual weight asymmetrically by having different components on different sides that still give the impression of an even distribution. Distribute the visual weight radially by arranging all parts of the design around a central point. LIST TWO! Create an abstract composition utilizing the zoom in technique to create a print that… · Utilizes the techniques of all over painting. Make no one part of the design more important than any other area to eliminate depth. · Utilizes the techniques of pentimenti. Show evidence of your process by covering and uncovering areas of the design. · Emphasizes the process of making. Think about gestural abstraction and use techniques that allow the viewers to read your movement from while you were creating. · Explores color. Consider using color field, characterized primarily by large fields of flat solid color, or the monochrome, characterized by utilizing one color and its values. Or look at color symbolism and create a meaningful color scheme. · Emphasizes expression. Relay a strong emotion to the viewers by “spilling your guts” onto your design. Choose an emotional object, a personal object, or part of your own body of work to zoom in on to create your composition. * Again you must choose one from each list for your final prints you hand in for a grade. Clearly mark what the choice was on the back in pencil or on a separate piece of paper. |
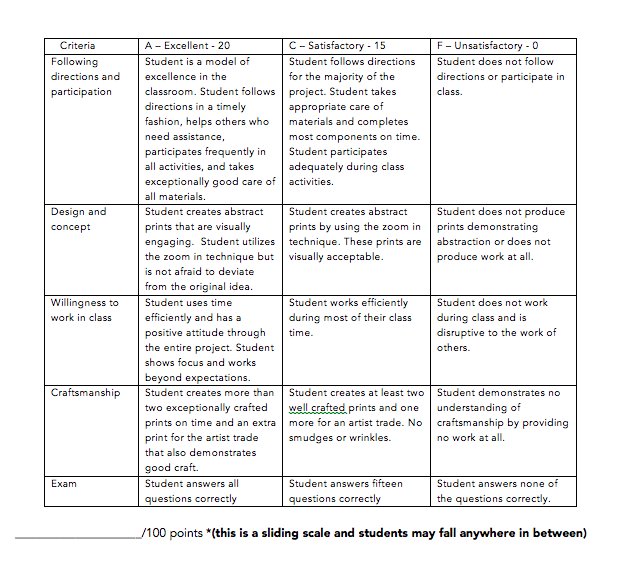
Grades will be determined as follows:
Grading Rubric



 RSS Feed
