DRHSART
  • About
    • Scholastics
    • Take Art!
    • The Creative Corner
    • Jackson Pollock Collaboration
  • Studio
    • AP 2D ART AND DESIGN
    • ART 45 >
      • Art 45 Assignments Blog
    • Independent Study >
      • Independent Study Assignment Blog
    • Art 3 >
      • Art 3 Assignments Blog
    • Art 2 >
      • Art 2 Assignments Blog
    • Art 1 >
      • Art 1 Assignment Blog
  • Gallery
    • DRHSART GALLERY
    • Highlights
    • Student Portfolios
  • Featured Artists
  • DRHSART LEVELS

Exploring Positive Forms and Negative Spaces

9/26/2016

0 Comments

 
Picture
Picture
Picture
Picture
Picture
Picture
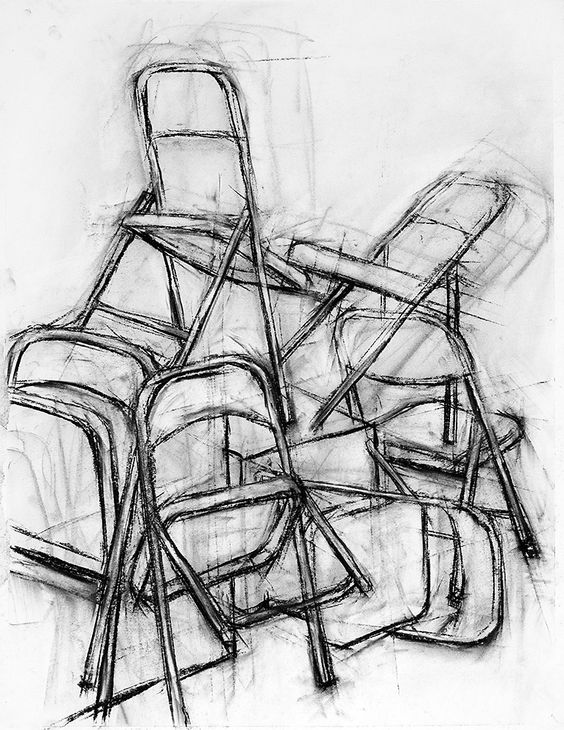
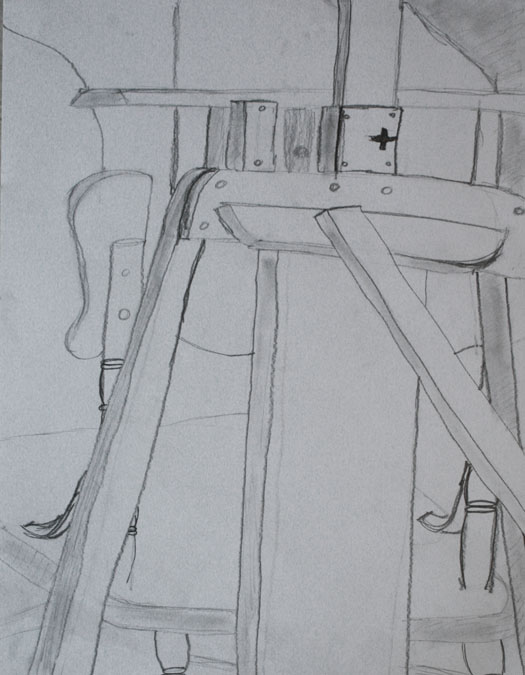
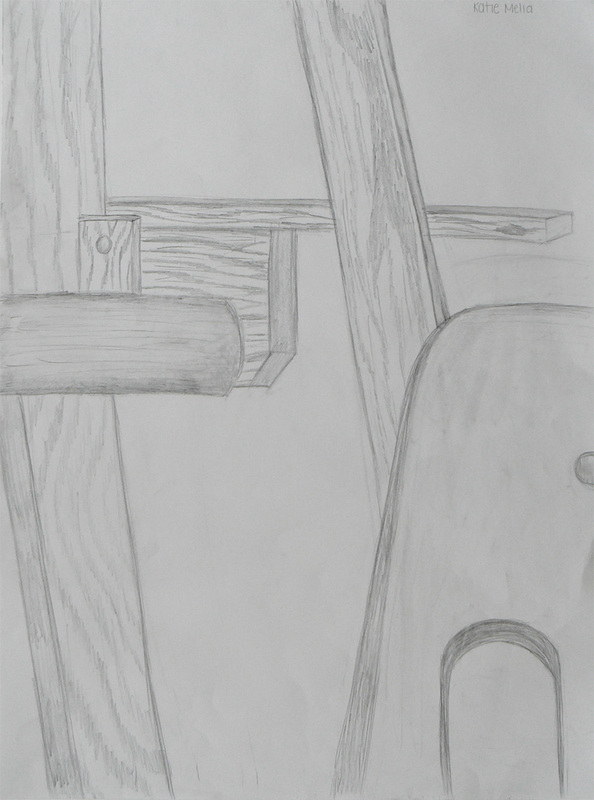
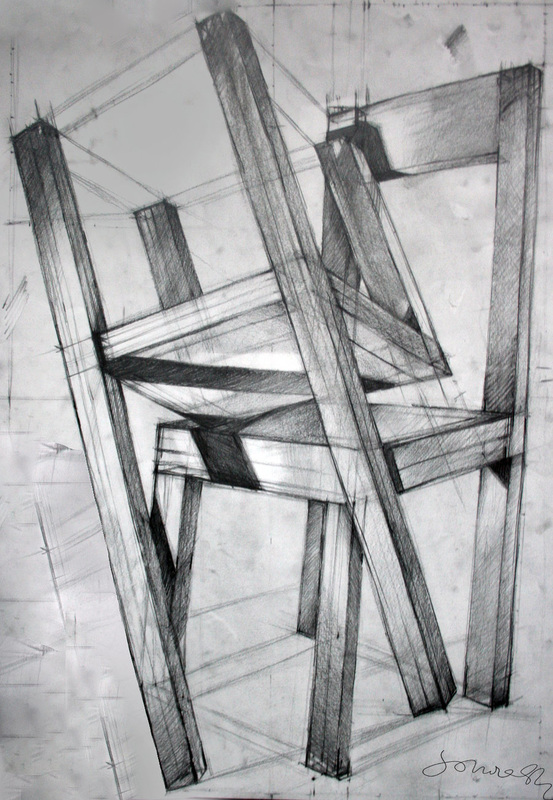
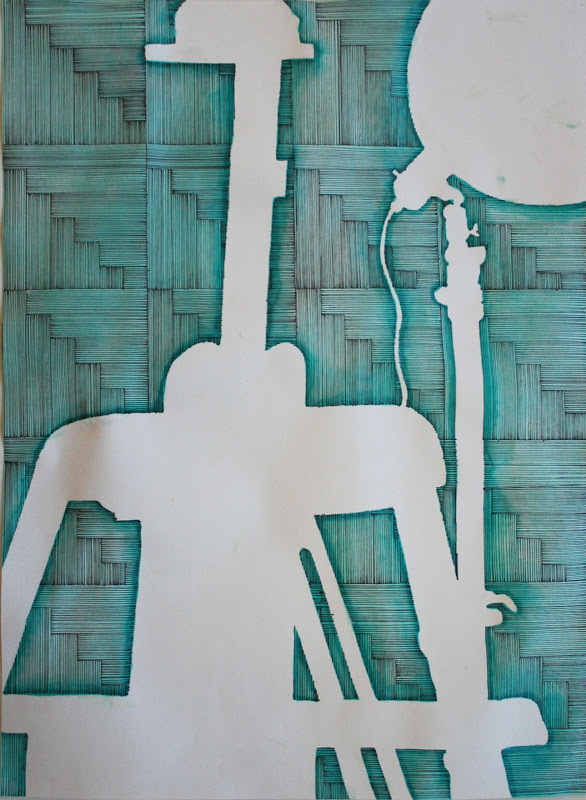
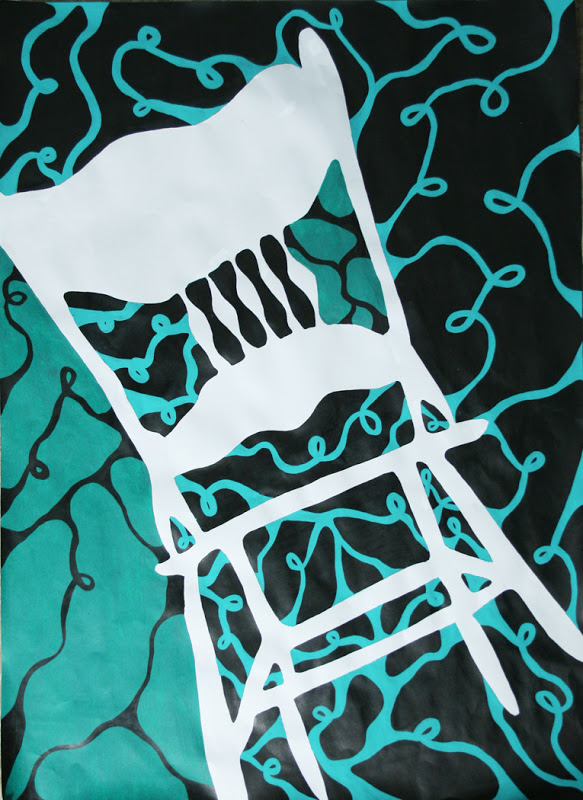
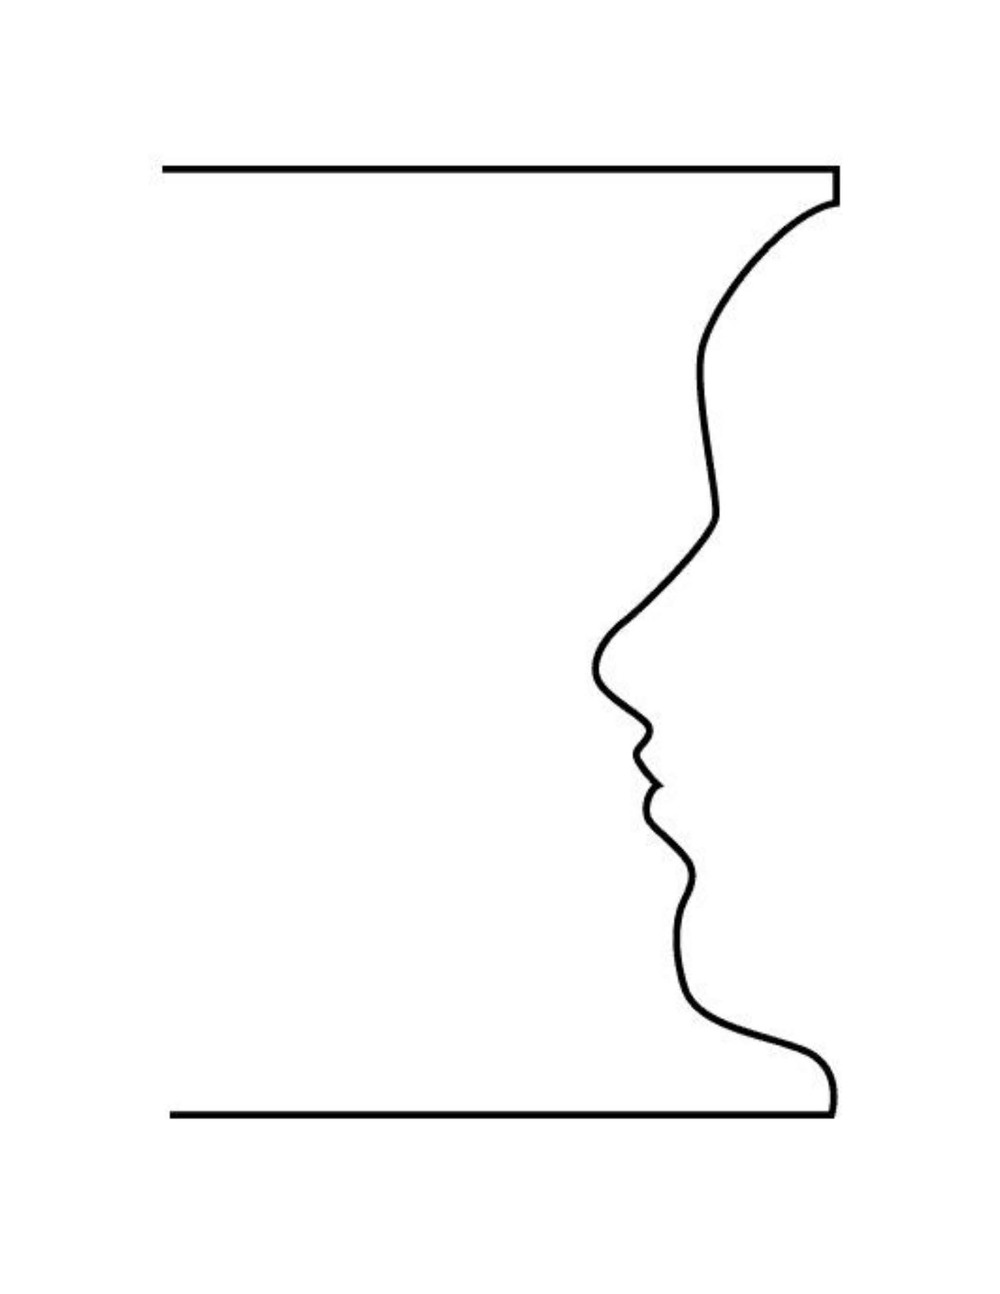
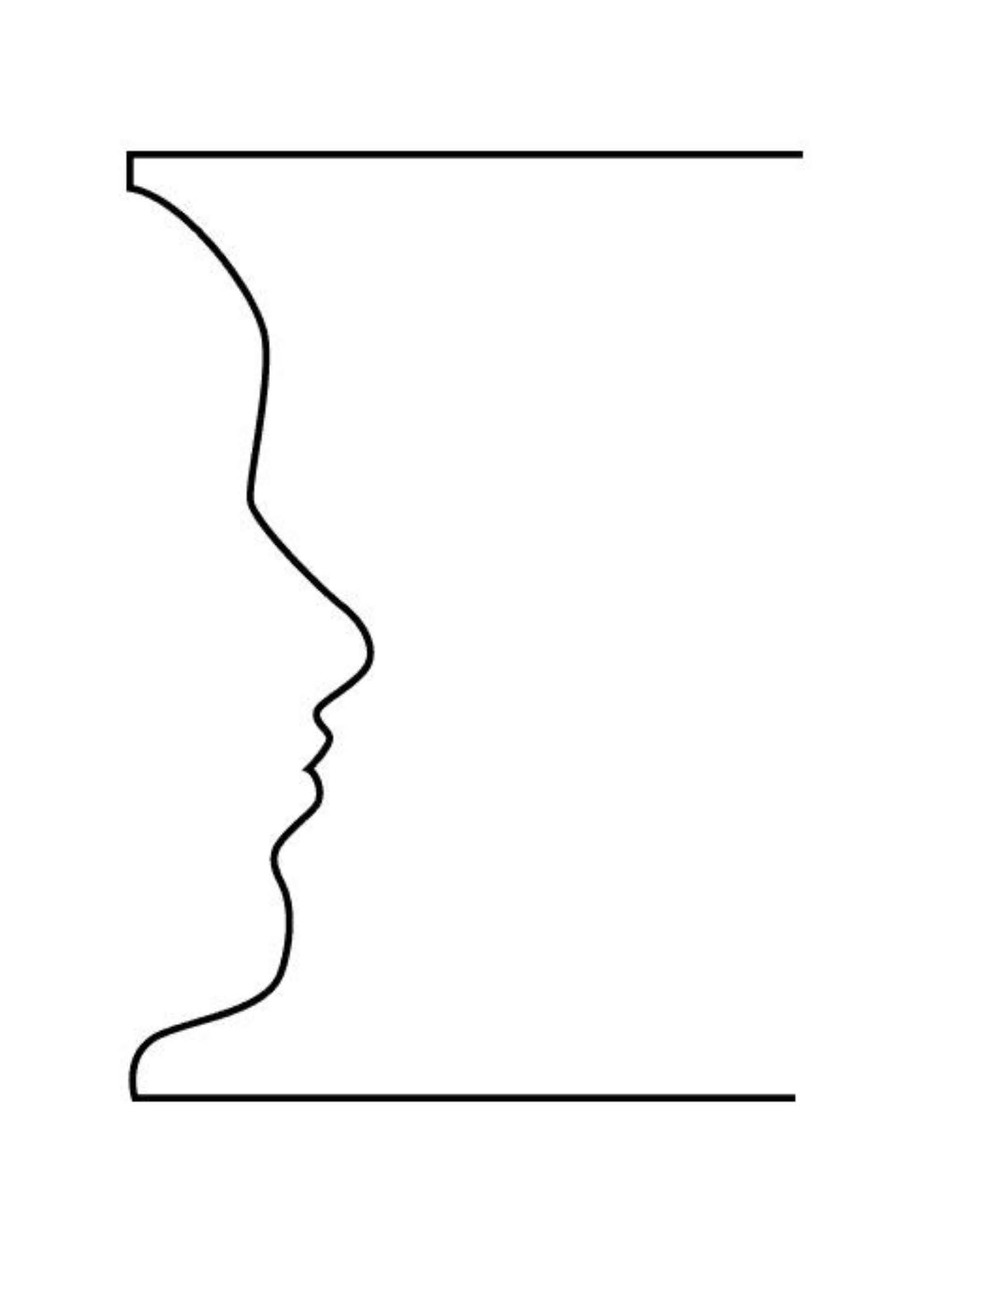
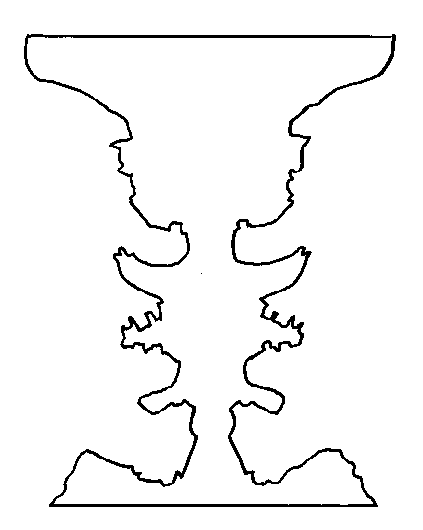
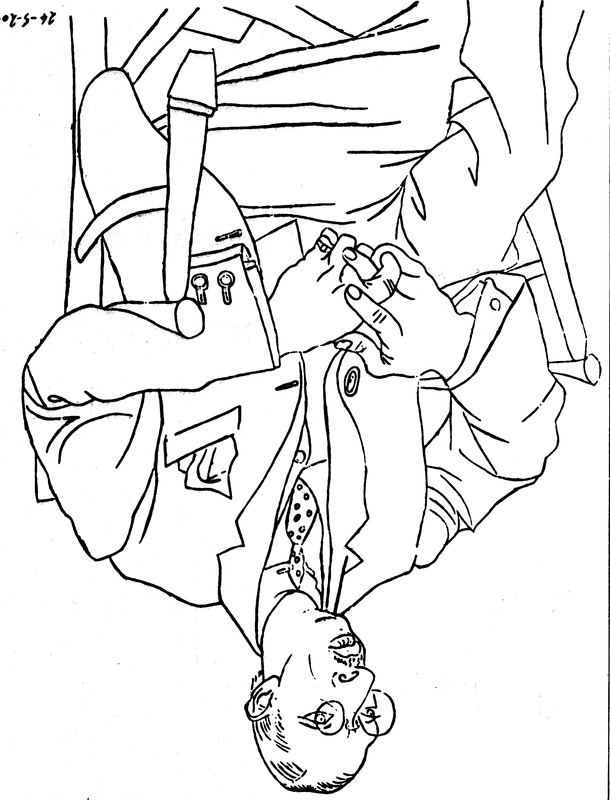
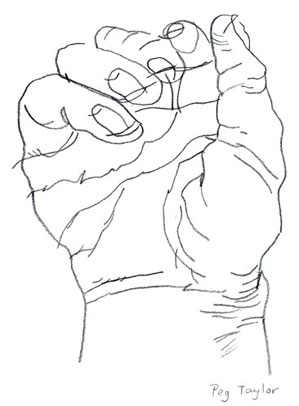
Contour Drawing | Positive Forms

Building On Previous Knowledge:

In our first official studio project of the year, you will be creating two drawings that build upon our last Postive / Negative spaces exercises.  This time, however, we will be working from life rather than from an already two-dimensional reference. Drawing from life is far more challenging, as it requires us to translate things from actual three dimensional space to a  two-dimensional surface.  

In our last exercise, we explored how our brains have a tendency to get locked into the L-mode.  Because all of the paintings we studied in our last exercise had a figurative element, your brains had to fight hard to see the reality of the positive forms without trying to fill in the gaps with what the L-mode was trying to identify, label, and symbolize as "features of a face".

If you did the exercises as instructed, you should have noticed a shift in the final two drawings where we made thumbnail sketches of the negative spaces (R-mode thinking) first.  The final results should have produced more accurate compositions in terms of how the space was arranged in both positive and negative space.  The ideal outcome of the exercises would have each student more aware of how important the positive and negative space is in a two dimensional designed space.   If that didn't happen for you yet, don't be discouraged, just trust the process and know that practice will give you the vision that will improve your ability to see. 

Positive Forms | Contour Drawing
Viewfinders and Framing the Space

The first part of this two-part project involves the observation and contour drawing illustration of the positive forms.  I've made a still life arrangement of everyday objects you would find in the art room. These objects were strategically chosen for their dynamic contours and open-spaced structure.  We will be observing an arrangement of chairs, easels, lamps, and stools for this project. 

Before we begin drawing from observation, we will need to discuss the overall use of the space.  For this project, I want you to fill the space so that the objects extend beyond the picture plane on all 4 sides.  In order to make this easier, we're going to create viewfinders to help us "frame" our compositions and visualize how large our objects need to be in space.  
Picture
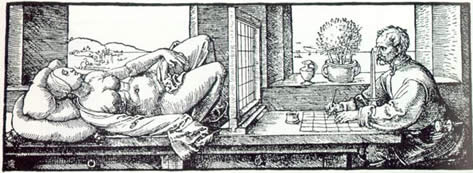
etching by Albrecht Durer titled "The Draughtsman's Net"

As you can see in Albrect Durer's image above, the viewfinder and grid have been used for centuries. Our viewfinders will not be as elaborate, but it will serve the same purpose, and should help you visual your compositions with less struggle. There are multiple techniques that can be used for our viewfinders, and multiple methods will be demonstrated in class.

Positive Forms | Contour Drawing
Contour Line Drawing

We will have a brief introduction to the proper way to sit in your chair and set up your drawing space when drawing from life. After we're all in the proper position, we will use our viewfinders as a guide to lightly sketch the structure of your drawings.  If you were truly really paying attention in the previous exercises, you likely noticed the similarities in the negative shapes of the compositions by Cezanne, Matisse, Degas, and Vermeer that were strategically chosen.  As you use you viewfinder to frame your composition, I'd like you to recall the arrangements by those famous artists, and try to create your own composition that contains interesting shapes in the negative spaces the way the masters so consistently did in their work.

Our first drawing exercise takes place on a 12" x 18" sheet of quality drawing paper.  On this paper lightly draw the "positive forms".  In other words draw the chairs, easels, lamps, etc.  As you draw these positive forms, I want you to still remain aware of the negative spaces that surround them. Remember, it's expected that the object in your composition extend beyond all 4 sides of the picture plane. Making sure your objects extend beyond the picture plane will allow you to create more negative space shapes. Keep your pencil lines fairly light until you've completed your composition.  

Once you've finished the structure of your composition, it's time to bring attention to the contour lines.  Using either a charcoal pencil, or a thin sharpie marker, I'd like you to embellish the outlines of the "positive forms" in your composition.  Use a variety of line weight as you do.  See the examples that are listed on the left side of this page for guidance as you develop the lines in your drawing. 


Negative Spaces | Inventing Patterns
Emphasizing Negative Spaces With Color

After completing the contour lines of your positive forms, it's time to study the spaces between the forms.  This portion of the project will challenge you to invent your own patterns and use six different color schemes to bring attention to the negative spaces around your forms. 

Step One:  Inventing Original Patterns
This step requires you to create 6 equally spaced and equally sized squares on a page in your journal. Once you have completed this step, you will need to use a No2 pencil to lightly draw the outlines of an original pattern into the space of each square.  When you have finished, you will have 6 different original patterns. 


Step Two:  Applying Color Schemes
This step will require you to use Prismacolor pencils to apply color to the patterns you invented.  Each of your boxes will have a separate color scheme that you will name.  Please name your color schemes as listed below:
Complimentary
Analagous
Triadic
Split Complimentary
Warm
Cool

Interactive Color Scheme Calculator
Interactive color wheel

Step Three:  Trace Your Original Drawing

Place your second sheet of paper over top of your original drawing of the positive forms.  Using light pressure and a No 2 pencil, carefully trace only the shapes that define the the spaces between the positive forms of your drawing.  This is harder than it sounds, but I know you can do it. 

Step Four:  Fill The Negative Spaces With Pattern
Choose your favorite pattern from the six experimental patterns you invented in step one. Do this carefully, using only your absolute best craftsmanship.  You do not have to choose the color scheme yet, only the pattern by which you were most impressed.  


Step Five:  Fill The Pattern With Color
In this step, you will need to choose your favorite color scheme from the six color schemes you created in your sketchbook. Then, using Prismacolor pencils, apply that color scheme to the pattern with which you have filled the negative spaces.   That's it!  You now have a very carefully crafted "Positive Forms Contour Line Drawing" and "Negative Spaces Pattern Drawing". 
0 Comments

Learning To See:  Right Brain Exercises

9/9/2016

1 Comment

 
Picture
Mike Guyer
"Grandaddy's Profile"
graphite on illustration board
20" x 16"
1994
Vase Face Image Examples
Picture
Picture
Picture
Picture
Picture
Picture

Drawing Teaches Us To See

"Learning perception through drawing seems to allow a different, more direct kind of seeing." - Betty Edwards. 

In the first unit this school year, we will focus on exercising the right side of our brains.  We will go through several exercises that have been scientifically proven to stimulate activity in the right hemisphere of the brain and encourage a new type of perception that betters our chances of "seeing".

Exercise #1:  The Vase Face
* From the Book "Drawing on the Right Side of the Brain" by Betty Edwards

​1. If you are right-handed, use the Vase/Faces template on the right; if you are left-handed, use the Vase/Faces template on your left.  Use an ordinary, sharpened pencil, sit at a table in a quiet place, and commence this exercise in a blank page of your sketchbook.  

2.  Copy the profile from the template Try to take up most of the page in your journal with your drawing. As you draw, think about the parts of the profile when they are drawn like this: " Forehead... nose... upper lip... lower lip... chin and neck."

3.  Then, go to the other side and start to draw the missing profile that will complete the symmetrical vase.

4.  When you come to some certain point in drawing the second profile, perhaps somewhere around the lower forehead or nose, you may begin to experience a sense of conflict or confusion.  Try to continue drawing through this moment of conflict, self observing as you draw to become aware of how you solve the problem.


Exercise #2:  The Monster Vase Face

This activity is a follow up to the the first vase face drawing.  This time, however, we will add an element of creativity and ornamentation. When completing this exercise, you will likely feel an even stronger shift in your processing, as the detail will force you to look harder than you did in the previous exercise. 

1.  Follow the same steps as you did in the first exercise, except this time I want you to create the profile of a grotesque, scary, ugly creature. As you do this, I want you to continue to name the parts of the face as you go " Forehead... nose...upper lip...lower lip...chin and neck."  

2.  Then,  as you did in the first exercise, go to the other side and start to draw the missing profile that will complete the symmetrical vase.


Exercise #3:  The Upside Down Drawing

We will continue with exercises from Drawing on the Right Side of the Brain. The author, Betty Edwards, has us drawing this Picasso drawing of the composer Igor Stravinsky. The twist? You copy it upside down!

The reason for this is explained in the book. Basically it’s to do with the two ways we view the world. When we are viewing it with our ‘left brain’ we see in symbols of how we think things ‘ought’ to look like which hinders us drawing things as they really are. On drawing upside down Edwards notes:

"For reasons that are still unclear, the verbal system immediately rejects the task of “reading” and naming upside-down images. L-mode seems to say, in effect, “I don’t do upside down. It’s too hard to names things seen this way, and, besides, the world isn’t upside down. Why should I bother with such stuff?”

Well, that’s just what we want! On the other hand, the visual system seems not to care. Right side up, upside down, it’s all interesting, perhaps even more interesting upside down because R-mode [Right Brain] is free of interference from its verbal partner, which is often in a “rush to judgement” or, at least, a rush to recognize and name.

Exercise #4:  The Blind Contour
In this exercise, you will begin to understand the importance of being able to concentrate on what you are seeing.  This exercise will require a great deal of concentration, however it is one of the most rewarding exercises in that even the beginner can have a good degree of success.  Learning to see through your sense of touch is what blind contour drawing is all about.  Most drawing techniques deal with the overall form and pare down to the details.  Contour drawing is quite the opposite; you develop the drawing line-by-line, detail-by-detail, until you have created the whole form.   To the left you will see examples of student’s blind contour drawings.

You will begin by this exercise by drawing a blind contour drawing of you hand.  Keep in mind that you must draw with a confident line and not a sketchy one.  Your line must flow with the contours of your hand. You are starting with one of the most difficult forms to draw, the hand.  You will start the drawing by placing or pose the hand you are not drawing with on the table in an interesting but comfortable position in front of you.  Look at a point on your hand where you are going to start the drawing, look at your paper and place your pencil on your paper in that position. Now look back at the hand you are drawing from, begin to move your eyes along the contour at the same speed that you move your pencil on the paper, Do not look at your paper!  Move the pencil on the paper imagining that the pencil point is actually touching the hand you are drawing.  Trace this first contour of your hand in every detail, feel it as you draw.  Don’t look at your paper after placing your pencil in its initial position constantly looking at what you are drawing.

This exercise will take a great deal of concentration and it is almost impossible to do a perfect drawing in this technique. The exercise is to help you begin to see what is actually in front of you and not what you think you see.  It takes so much concentration to do the exercise that you will find you will be very tired or you may have a headache after you have completed it.  

We will make 4 total blind contour drawings. The first will be a 10 minute drawing of your hand using your dominant hand.  The second will be a 5 minute drawing of your hand using your non-dominant hand.  The third will be a 10 minute drawing of a classmate's face using your dominant hand.  The final exercise will be a 5 minute drawing of a classmate's face using your non- dominant hand. 


1 Comment

Introduction To Composition

9/7/2016

1 Comment

 
Picture
Picture
Picture
Picture

What Is Composition?

Well, here's how it can be officially defined by a dictionary: 
1. The nature of something’s ingredients or constituents; the way in which a whole or mixture is made up.
2. The action of putting things together; formation or construction.

Composition can be confusing and hard to pin down, you don’t really notice good composition in a painting it is just there, which is why the dictionary definition above doesn’t necessarily help us. While ‘the action of putting thing together‘ is a way to explain it, the actions of putting things together so they "work" s harder to explain.  Throughout this unit, we will begin to uncover some of the secrets artists have been using for centuries to make their compositions work. 

Here are a few links to get us started:
Creating Focal Points
Composition in Art :  Part 1 |  Part 2  | Part 3
The Elements and Principles Defined

​

1 Comment
Forward>>

    ART 1
    Assignments

    This blog is the growing archive of Art 1 Assignments for DRHSART.  You can search assignments by category or date below. 

    Archives

    May 2023
    May 2022
    May 2021
    October 2020
    January 2019
    February 2018
    December 2017
    September 2017
    May 2017
    October 2016
    September 2016

    Categories

    All

    RSS Feed

Powered by Create your own unique website with customizable templates.