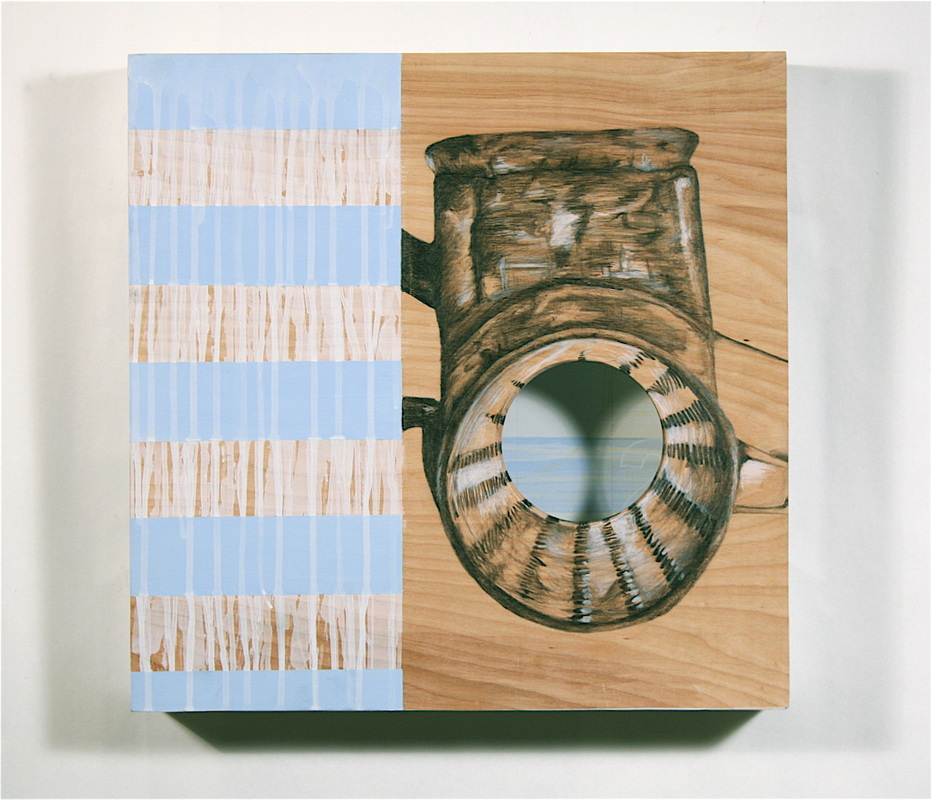
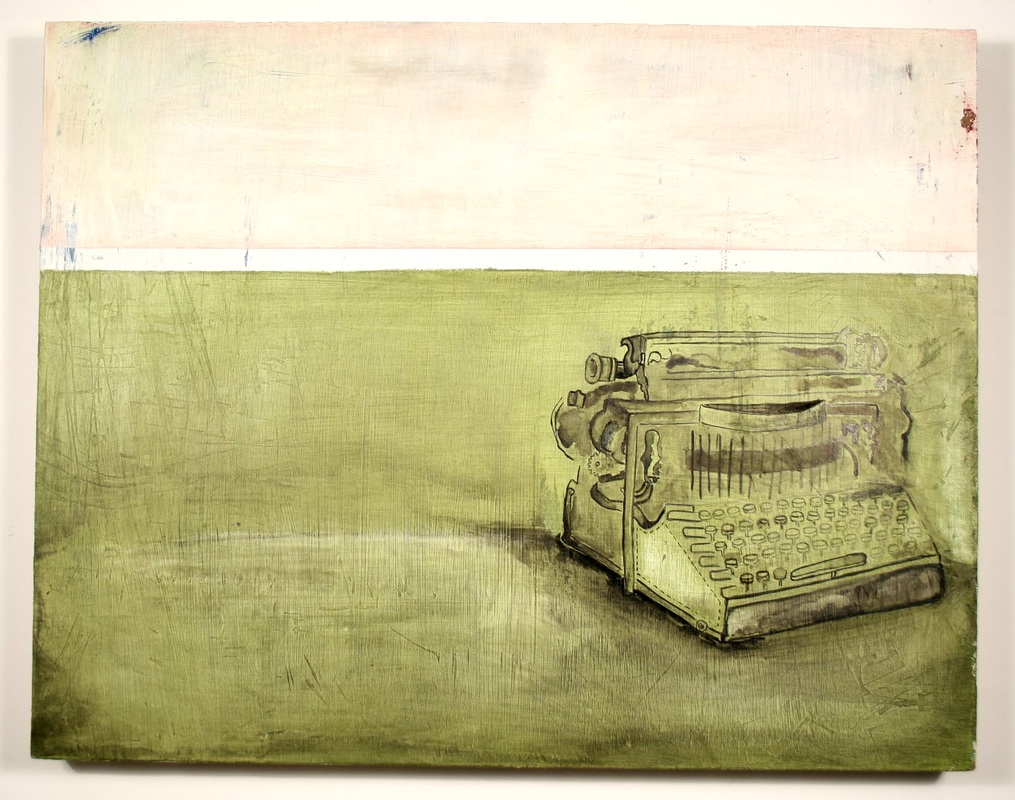
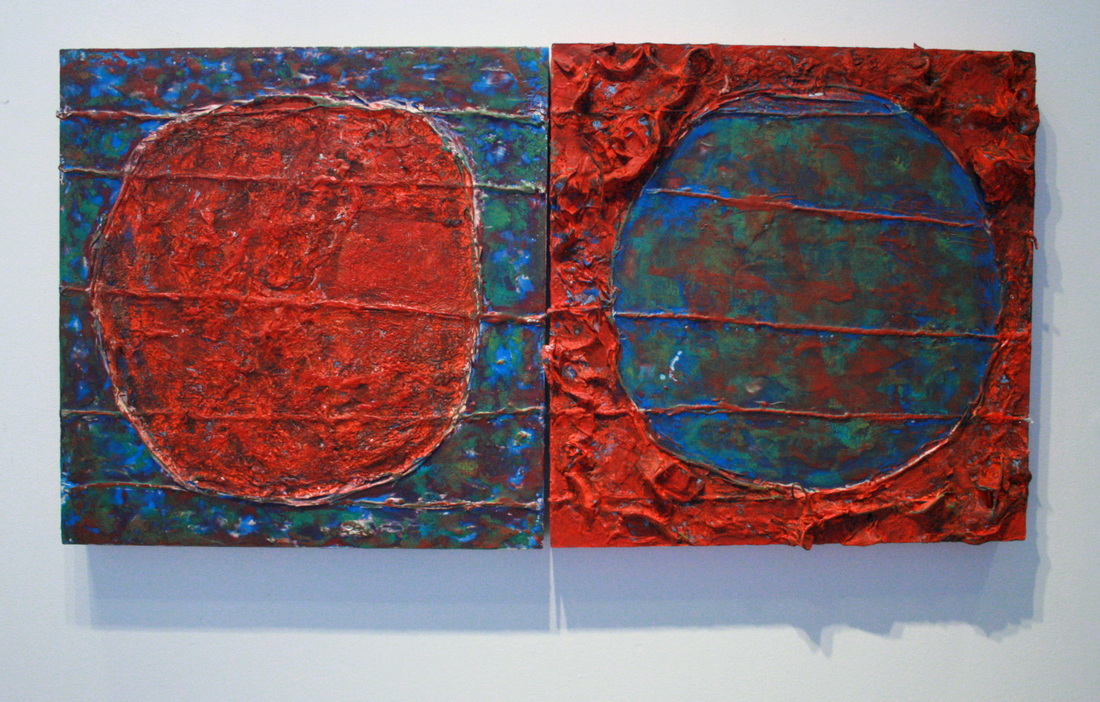
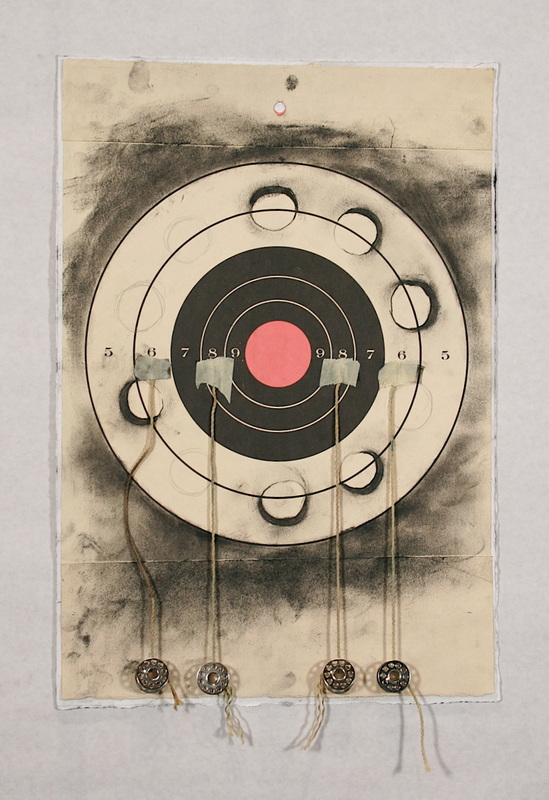
| Cast A Wider Net, And You'll Catch More Ideas One of the most difficult tasks of making art is coming up with ideas that feel authentic and original. Having taught for so many years, I've noticed that even the most academically inclined students can have profound struggles developing original ideas that have value. The proven best way to power through the difficult task of creating good work is to simply make a lot of work. This 3 part unit was designed to have my students make a lot of work in a short amount of time. Throughout this unit, students will learn to deconstruct their own preconceptions of what it means to "draw", and will learn these great lessons that I read in the book Art and Fear : “What you need to know about the next piece is contained in the last piece. The place to learn about your materials is in the last use of your materials. The place to learn about your execution is in your last execution. Put simply, your work is your guide: a complete, comprehensive, limitless reference book on your work.” “For most artists, making good art depends upon making lots of art and any device that carries the first brushstroke to the next blank canvas has tangible, practical value.” Homework, Choosing Inspiration: Each student is required to choose a small, portable object that has conceptual and/or aesthetic interest to him or her. The object needs to be brought to the classroom, and will need to be with the student throughout the duration of the first 10 drawings. The first 10 "drawings" will be made from direct observation of the object, can be no larger than 8” x 10”, no smaller than 4"x 6" in total surface area, and must be completed by the critique date listed on the calendar. First 10 Drawings: Rules and Regulations These drawings can be no larger than 8”x10” and no smaller than 4"x 6" in total surface area. You will be given two weeks to complete the drawings. The first ten drawing can be completed in any order, but each drawing must be labeled on the back with a description of the assignment and the order in which it was completed. Additionally, on the back of the work, you must list the media used. A portion of the grade will be determined by how well these directions were followed. This introduction to the 30 works you will create is aimed at just getting you started and not overwhelming you with choice. This is assignment is the vehicle to simply make you create a lot of work in a short amount of time without being paralyzed by theorizing too much about what you'll make. 1. Academically Rendered: The entire object must fit within the picture plane. Though the whole object exists within the space, I do not want there to be any space used inefficiently. This drawing needs to be proportional, and should contain marks that resemble the Old Master's drawings such as those created by Michelangelo, Raphael, Leonardo, Tintoretto, Titian, Rubens, Durer, and Caravaggio. You spent plenty of time studying the marks of the masters in Art 3, now it's time to apply what you learned in an observational drawing. All of your rendering should be created through cross contour hatching, not through smudge blending. It is recommended that you use a dark media such as charcoal or ink. 2. Tightly Cropped: This drawing of your object should be cropped so that it overlaps a minimum of three of the sides within your picture plane. This drawing can be fairly experimental so long as it is tightly cropped. Though you may not draw from a photograph, you may experiment with cropped compositions with your phone or camera to guide your observational drawing. 3. Drawn with an Obstacle: In much the same way Matthew Barney would have done, you are required to create a situation that makes the execution of the drawing cumbersome or more difficult than it would be traditionally. Then attempt to create an image that embraces the difficulty of the task, while at the same time demonstrates your understanding of mark-making and arrangement. This drawing will produce an image unlike anything you've made before if you're following the rules. On the back of this drawing, please explain the drawing challenge you created for yourself as well as what you learned when creating. 4. Reduction Drawing: Coat the surface on which you will be drawing with a medium tone of powdered charcoal or any other easily removable material. Use an eraser or other tool for removing media to develop the highlights and structure of the drawing (without drawing a “white contour drawing”). Only after the medium tones and lightest tones have been developed will you be able to apply the dark tones with a charcoal pencil or stick. The main concern in this drawing challenge is tonal range. It would be wise to choose a dramatically lit environment. Again, Please work not from a photograph but rather from direct observation of your object. 5. Dramatic Drawing: Use extreme lights and darks to create an image that simplifies the object that you’ve chosen to draw. Attempt to create some sort of ambiguity, and leave the viewer with questions about what you have drawn. Don’t be afraid to explore abstraction in this drawing. More than anything, give the viewer a sense of drama. 6. Continuous Contour Line: Create a drawing of your object by which your drawing tool never lifts from the surface on which it is moving. Once your tool hits the surface, it should remain connected throughout the duration of the entire drawing. Don’t cheat, or the process will be lost. It is recommended that you use ink for this activity. 7. Experimental Media: This drawing requires you to use non-traditional media. Not only should it be non-traditionally drawn in general, but it also must be a risk for you. You may not make this drawing using any media or process that you have used in the past. Risk-taking is essential to creative growth, and that is what this particular assignment cultivates. Lose your fear of being wrong, because you cannot be wrong on this assignment unless you choose not to try something brand new. 8. Make Your Mark: Make a drawing of your object that utilizes your strengths. What do you consider to be your comfort zone and style in terms of making art? Use those techniques and processes in this challenge to create and image that gives you confidence. It should feel natural when you are making this drawing. If you don’t feel like you have a style or process that you can call your own, just make this drawing that gives you comfort. 9. Print Made Image: This drawing or “print” of your object should be created through some sort of printmaking technique. It can be done with any of the relief or intaglio methods. You can even invent your own method of "printmaking" if you'd like. 10. Your Choice: The drawing should be made, from observation, using any of the techniques that you found intriguing or successful. Please make this drawing last. The reason you're to make this one last, is because I want you to experience the other drawing challenges before you make your choice. Second Set of 10 drawings: In this second set of ten drawings, students are encouraged to experiment, take risks, and expand upon IDEAS and CONCEPTS that are present in the most successful images from the first set of drawings. Students are challenged to conjure questions about the definition of “drawing”, and are encouraged to move beyond the physical object from which the original set of drawings was inspired, exploring the meaning of the object and the experience of mark-making. Students are required to have all work prepared for critique by the date indicated on the calendars that organize the class. Third Set of 10 Drawings: In this set of ten drawings, students are to refer only to the second set of drawings that were made, and should be expanding on the most successful work in that particular set. These ten drawings are to be worked on simultaneously, and should all be completed at approximately the same time. The purpose of this third set of drawings is to create a body of work that has conceptual and visual consistency. Though consistency is sought, these drawings should each retain a sense of individuality. Drawing a Conclusion: You now have 30 works of art! Some are better than others, but each was an important step toward making the successful images you created. Now that you have this collection of small work, it's time to make one work of art, inspired by your final set of 10 drawings. This time the only rule is that it may be no smaller than 22" x 30". You will have 3 weeks to finish this piece. In addition to having this work of art finished in three weeks from the date you began, you are also expected to write a minimum of 1 paragraph that helps me understand the process you went through and the creative discoveries you made throughout this unit. If you were invested in this process, you hopefully have come to understand that sometimes the most direct path to your best work is to simply roll up your sleeves and make a heck of a lot of work, getting lost in the process, and worrying less about the outcome. |
|
1 Comment
|
Art 45
|

 RSS Feed
