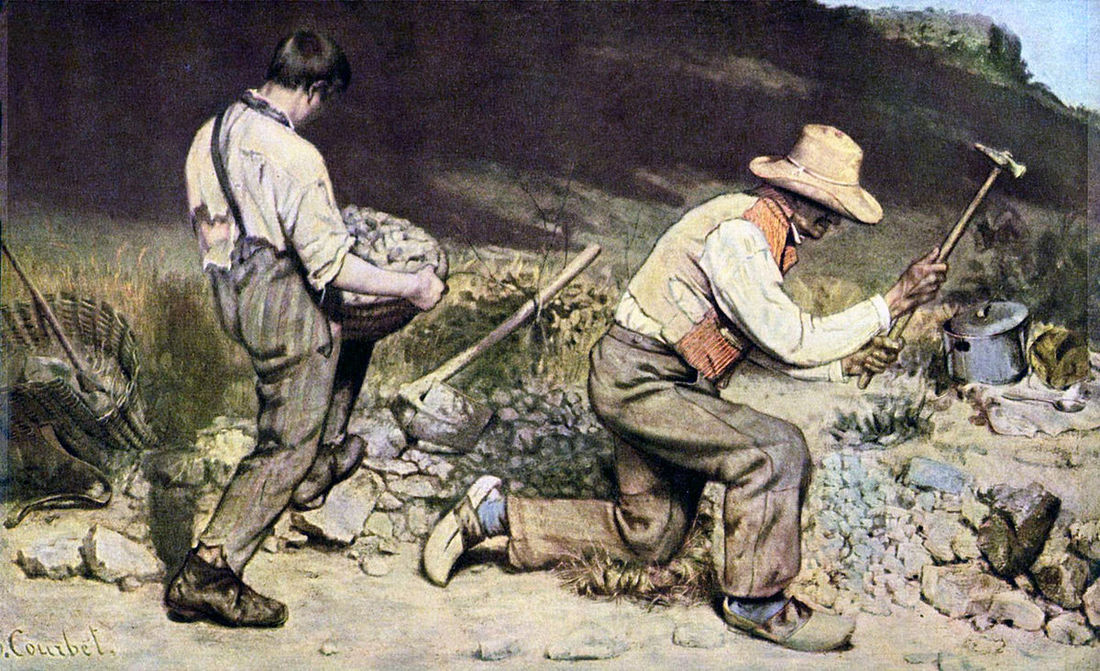
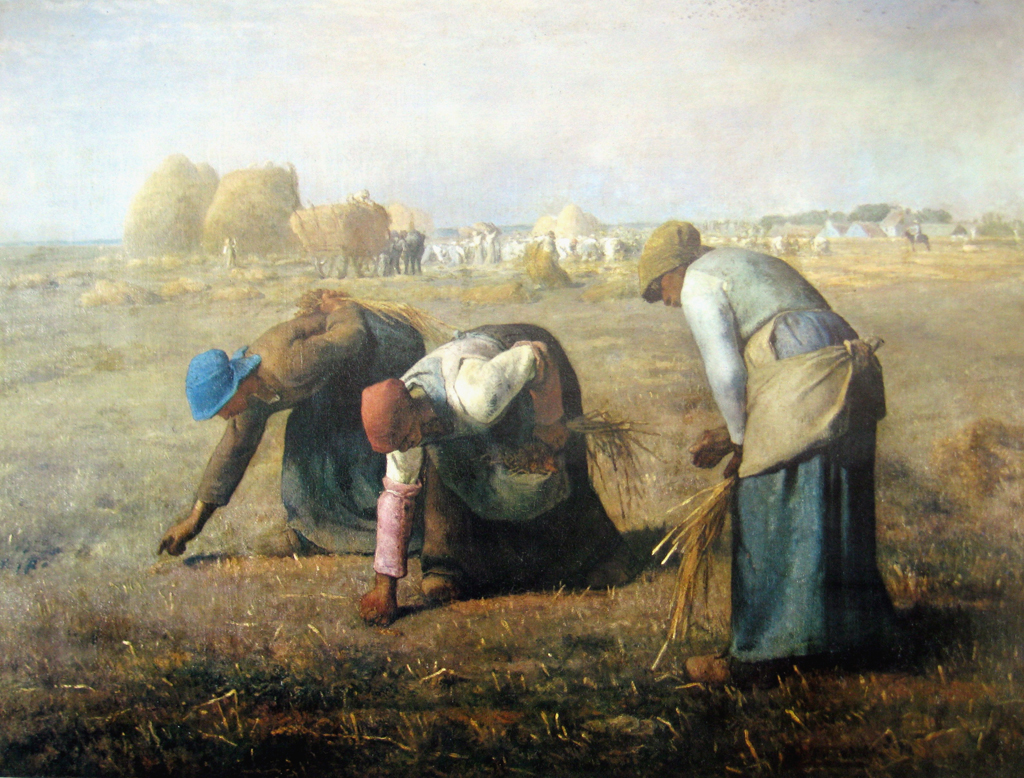
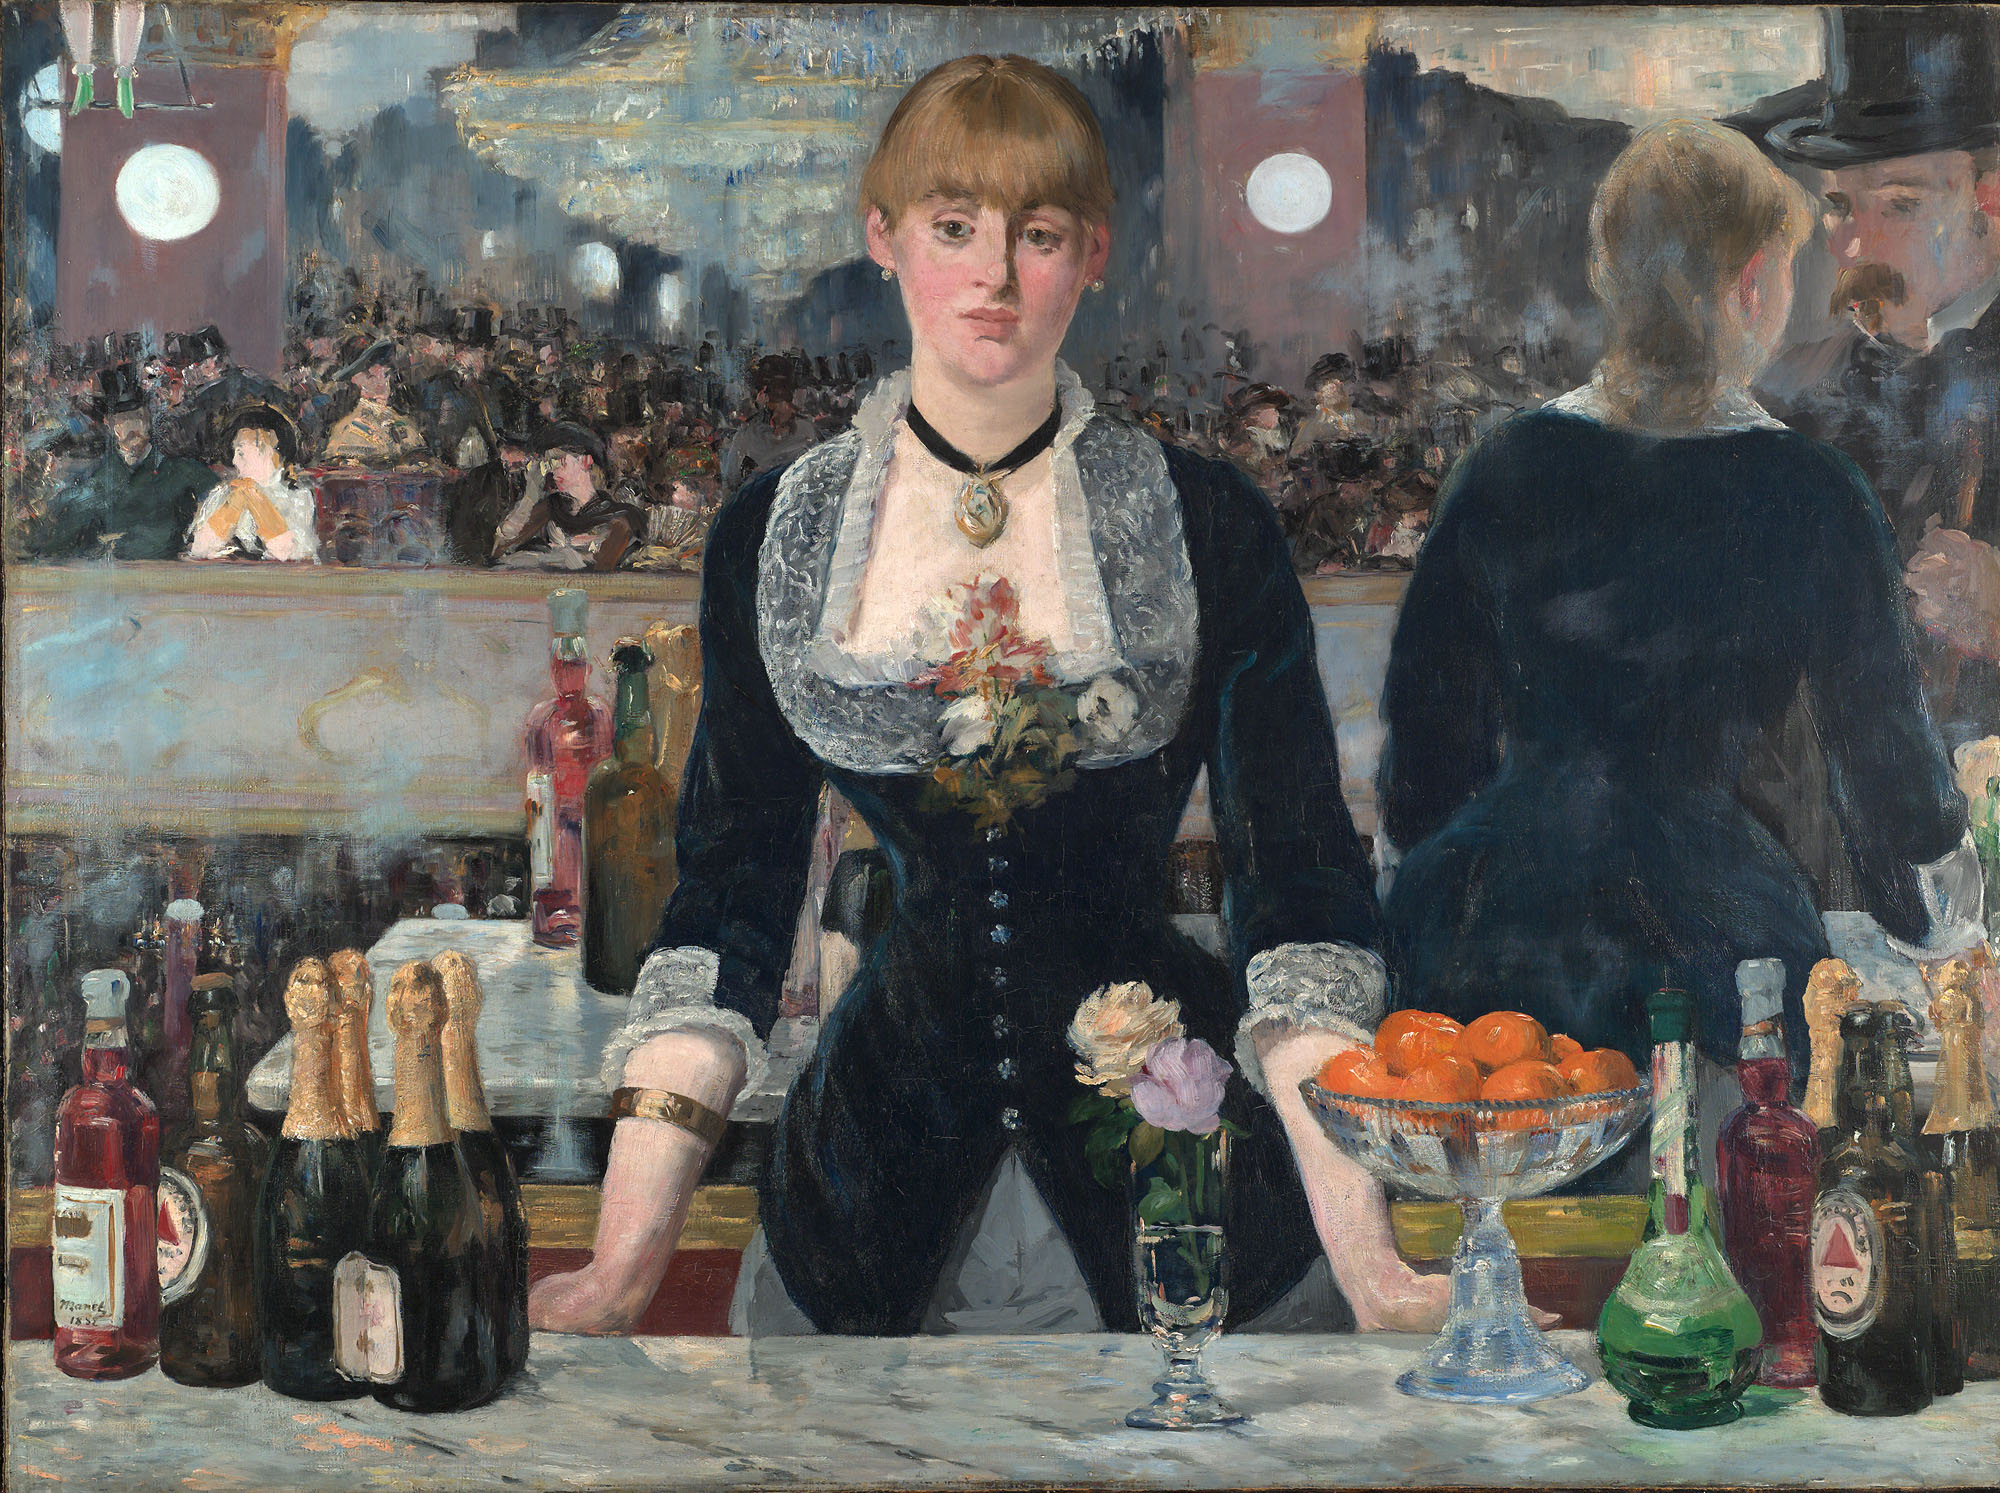
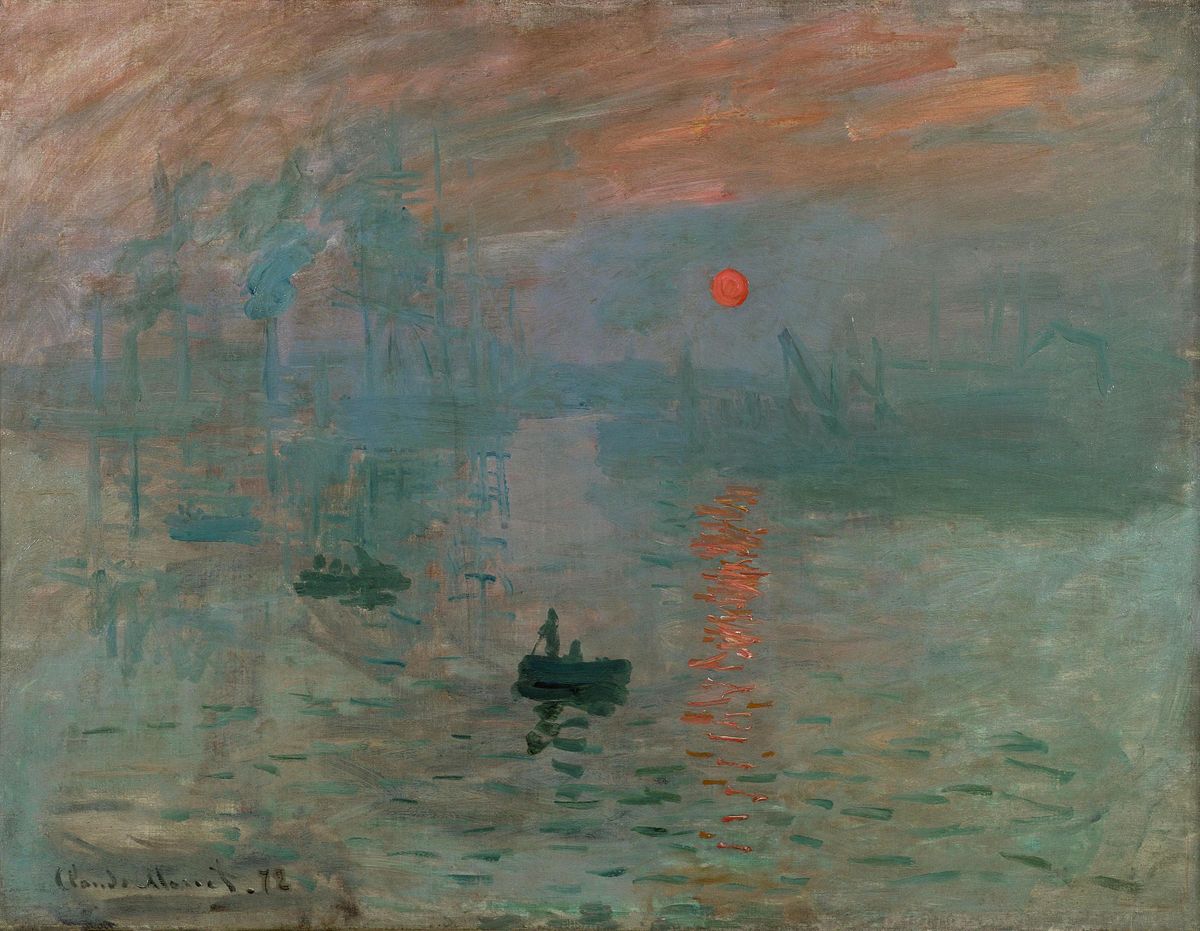
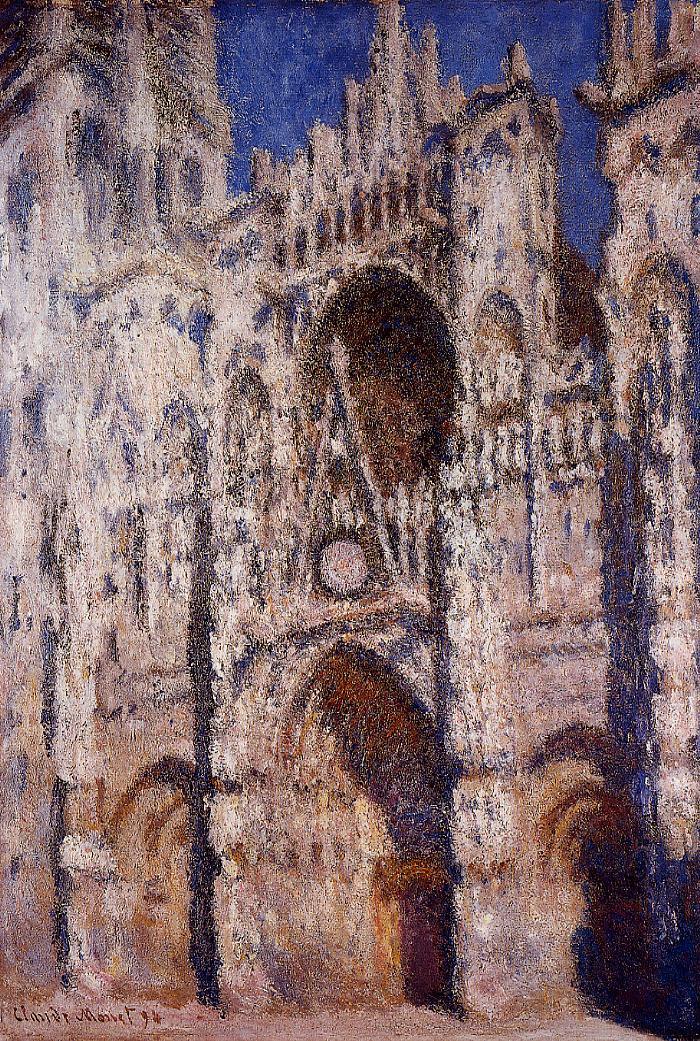
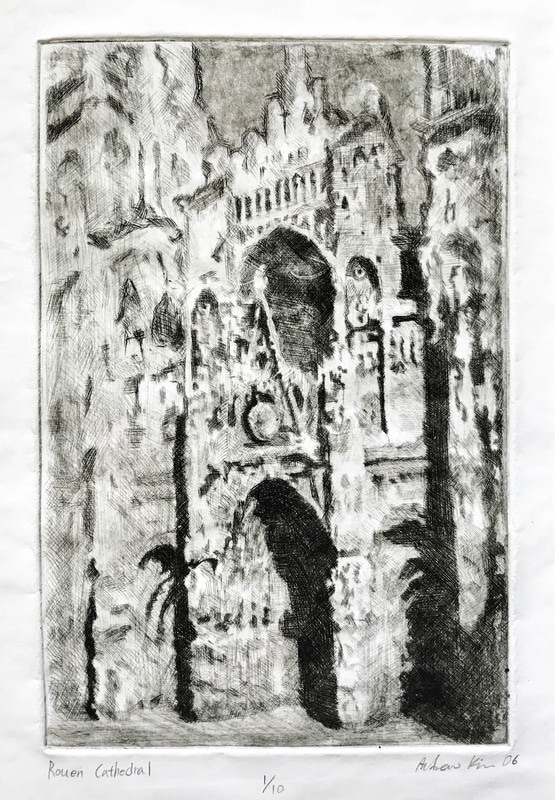
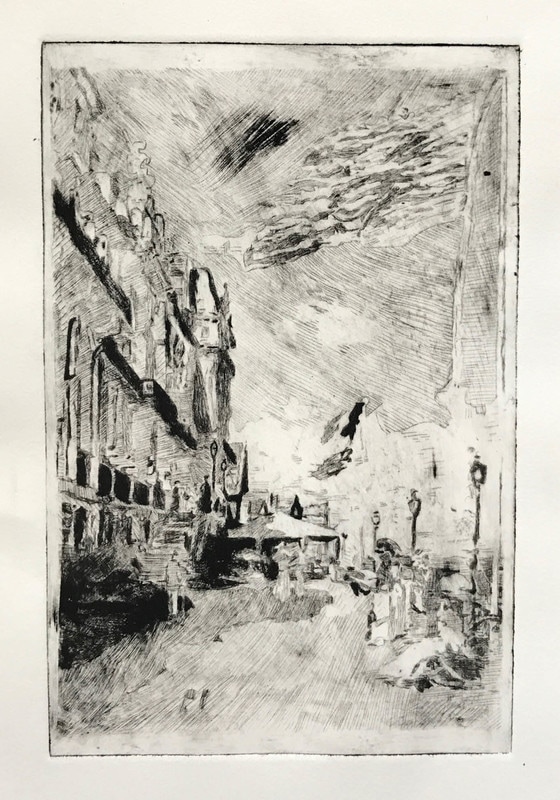
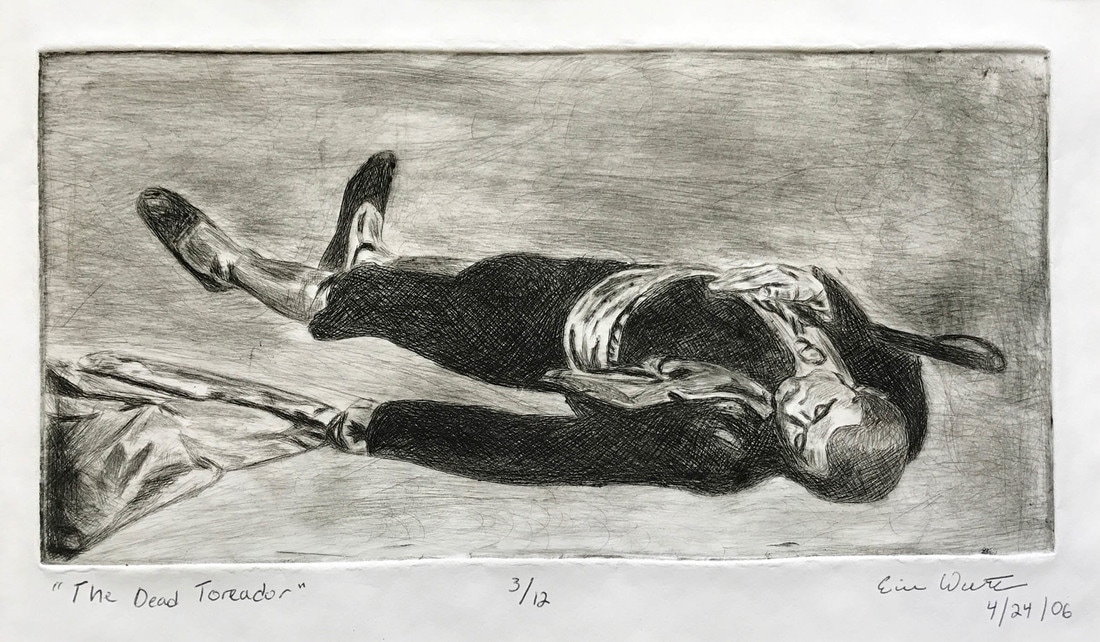
| Realism, Impressionism, and Etching The Big Idea: Students will learn the context of selected European artworks from 1850-1900, and will create dry-point etchings that are inspired by the artworks of that era. Art History: Before we begin discussing the Dry Point Etching process, I want to teach you about one of the most widely known eras in art history. Impressionism is probably the most revered art movement by the general public. I want to dive into the details of how the movement became what it was. Over the next few weeks, we will be discussing some of the important works of art that were made in the second half of the 19th Century. We will begin discussing the work of Realist artists like Courbet, Millet, Daumier, and Manet. After a thorough discussion of the Realists, we will move into the birth of Impressionism, and will discuss the work of Monet, Cassatt, Degas, and Caillebotte. In addition to learning the context of these two important art movements, you will also be learning the process of Dry Point Etching. To the left, under the famous works of art, you'll see examples of this project from the past. Those are the types of images we will be creating in this unit. Though it may look intimidating at first, you will all be pleasantly surprised by the outcome of your work. This project almost always yields satisfying results for Art 1 students.
Directions for Dry Point Etching: Step One: Choosing Your Painting For Research You must first choose a work of art from 1850-1900 (Europe). Choose a work of art that interests you, as you will be required to know a lot about it. You may not choose any of the works discussed by me during the lectures, and the image you choose must be very high resolution. The detail is everything. The work you choose will be researched, and presented to the class following the instructions listed later in this blog post. Additionally, you will replicate a cropped portion of the image using the dry-point etching process. Here are some resources to guide you: Art Institute Collection The Metropolitan Museum of Art The National Gallery of Art The British National Gallery Step Two: Cropping and Printing Your Image Once you have chosen your high resolution image, you need to open it in Photoshop, and crop an interesting 8"x 8" square section of it. There are multiple reasons we're cropping the image into a square. The first is that it's efficient because we already have the square 8"x 8" plexiglass plates from the mono-printing unit. Another reason we're cropping is to modify the image so we're not just copying. The third reason is to echo the way the invention of the camera gave late 19th century artists a new "cropped" vision of the world, which had an impact on their compositional arrangements. After you have cropped a high resolution section of your chosen image, you need to make it black and white, flip the image horizontally, adjust the contrast for the optimal detail, and print it 8"x8". You want to be sure it's the same exact size as your plate. Step Three: Etching your plate Once you've printed and taped your image to the plate, you will want to begin etching your plate. Use the careful cross-hatched technique that I demonstrate in class, and understand that the more you hatch, the darker the value you'll be creating. Even though it will look lighter on the plate when you etch, just remember that those etched marks will later hold the ink. You have to think backwards while creating this image. Not only will the lighter etched areas become dark with ink, but the entire image itself will be reversed in the printing process. Everything is sdrawkcab (backwards). Step Four: Printing After you've diligently etched every detail into your plate, it's time to ink and print. You've experienced the printing process already, and this time it's very similar. There are a few differences from the mono-printing unit that we must discuss. You will scrape the ink onto the plate with scraps of mat board. You'll want to thoroughly scrape the entire surface, pushing the ink into the bur of the etched marks you've made. Then, you will scrape the excess ink off of the plate. no matter how well you scrape, you'll still have residue on your plate. That extra ink should be carefully removed with a paper towel. You'll want to be meticulous and careful as you remove the excess ink, as you don't want to remove the ink from the bur. Once you've inked the plate, it is time to print! No differently than the mono-print, you'll want to create a template, and soak the paper. The rest is exactly the same as before. Set the press to 10, and use the same technique as you did before. Directions for Your Presentation: You will be creating a presentation (a website, Google presentation, Powerpoint, Prezi) that accompanies your print. This presentation will be used to give a short 5 minute lecture to the class. As you present, you will rotate through the room presenting to multiple small groups. Several students will be presenting simultaneous in different areas of the room. Slide One: Identification On this slide, you will need to include the title of the painting, the artist who created the painting, as well as the year in which the painting was created. This introduction slide should also include a high quality image of the painting. Slide Two: Analysis of Style On this slide, you will need to describe the visual characteristics of the painting. As you present, you will be expected to demonstrate your ability to really look and analyze the work of art. Things to consider when creating this slide are the artist’s use of color, texture, line, texture, rhythm, form, composition, as well as the way in which the paint was applied to the canvas. Feel free to add additional slides and detailed shots of the painting to help the class truly understand the painting well. You may want to consider displaying other paintings by the artist that further describe his or her style of painting. Slide Three: Artist Life and Thoughts This slide should contain a brief summary of the artist’s life. Try to include interesting facts that are important to the development of the artist’s work. Avoid detailed biographies that will bore the class. You will also need to include one or more quotes by the artist that will help the class understand his or her attitude toward painting. Choose your quotes carefully, and be able to explain how the quotes are relative to the work created by the artist. Finally, you should include a description of historical events that were going on around the time of the painting’s creation. Try, if possible, to make a connection between the subject matter of your artist’s work and the historical events that surrounded its creation. Slide Four: Personal Response This slide should include your thoughts about the research that you have done. Just as I encourage you to include your response to the research done in your journal, I would like to see you give meaningful feedback on what you have learned in doing this research project. Slide Five: Bibliography This slide should include a list of all resources that you used for every image, quote, and historical fact. The librarians will discuss the format that you will need to use when citing your sources. Please use EasyBib for the proper format when listing these sources. SOLs Covered In This Unit: AI.1 The student will maintain and use a process art portfolio (e.g., sketchbook/journal and working portfolio) for planning and as a resource in the art-making process. AI.3 The student will communicate ideas in works of art by identifying and using steps of an artistic process, including selecting media and incorporating elements of art and principles of design. AI.4 The student will describe and demonstrate craftsmanship (artisanship) in works of art. AI.11 The student will analyze major art movements and influential artists according to events, places, cultures, and historical periods. AI.12 The student will identify technological developments in the visual arts. AI.13 The student will analyze works of art as representational, abstract, or nonrepresentational, including nonobjective and conceptual. AI.15 The student will use art criticism skills to interpret, analyze, and evaluate works of art. AI.16 The student will evaluate how social, cultural, and historical context contribute to meaning in works of art and design. AI.17 The student will analyze how media and visual organization in works of art affect the communication of ideas. AI.18 The student will develop constructive approaches to critique (formative, peer-to-peer, selfreflective, summative) that are supportive in intent and that offer alternative points of view. AI.20 The student will describe aesthetic qualities found in works of art. AI.21 The student will analyze the functions, purposes, and perceived meanings of works of design. AI.22 The student will formulate a definition for art and defend that definition in relation to objects in the world. AI.23 The student will use personal criteria when making visual aesthetic judgments. | |||
|
0 Comments
Your comment will be posted after it is approved.
Leave a Reply. |
ART 1
|


 RSS Feed
